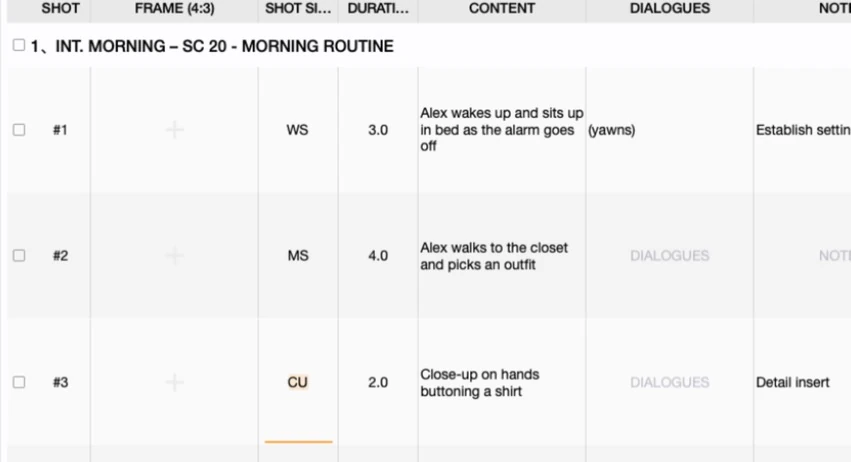
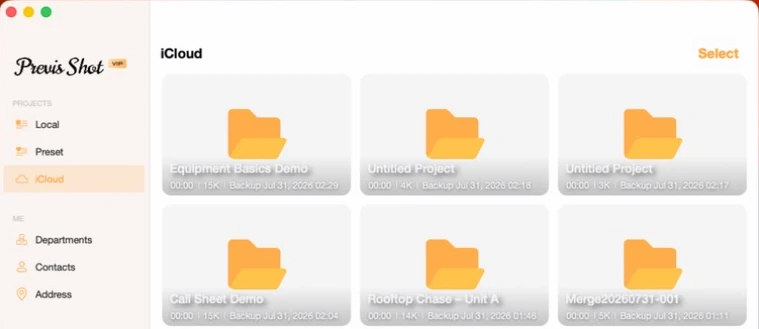
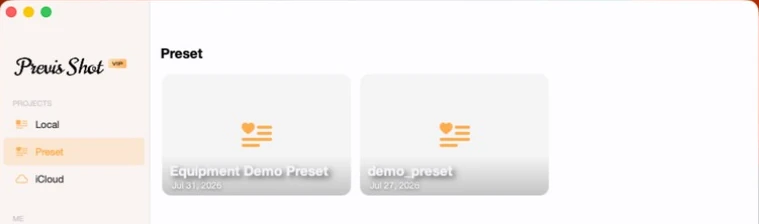
A shot list only helps the crew if it can leave the app — printed, emailed, or dropped into a spreadsheet someone else is going to sort and filter. Previs Shot's Export button, available from the SHOTS, SCHEDULES and CALL SHEETS views, turns whatever you're looking at into a document. This tutorial covers the two output formats, the preview screen in between, and the export options that control how the final document looks.
1. Export Lives Wherever There's Something to Hand Out
You'll find an orange Export button in the top-right corner of SHOTS, SCHEDULES and CALL SHEETS. Each one exports the data for that view — a shot list from SHOTS, a day-by-day schedule from SCHEDULES, a full call sheet from CALL SHEETS — so there's no separate "export project" step to hunt for once you know what you want to hand out.
2. From SHOTS: Shot List or Storyboard Layout
Clicking Export from the SHOTS view asks one extra question first: export as a Shot Lists table, or as a Storyboard grid of panels. Both pull from the same shots — the difference is entirely about which someone needs, a scannable table for a 1st AD or a panel-by-panel grid for a director walking through blocking.
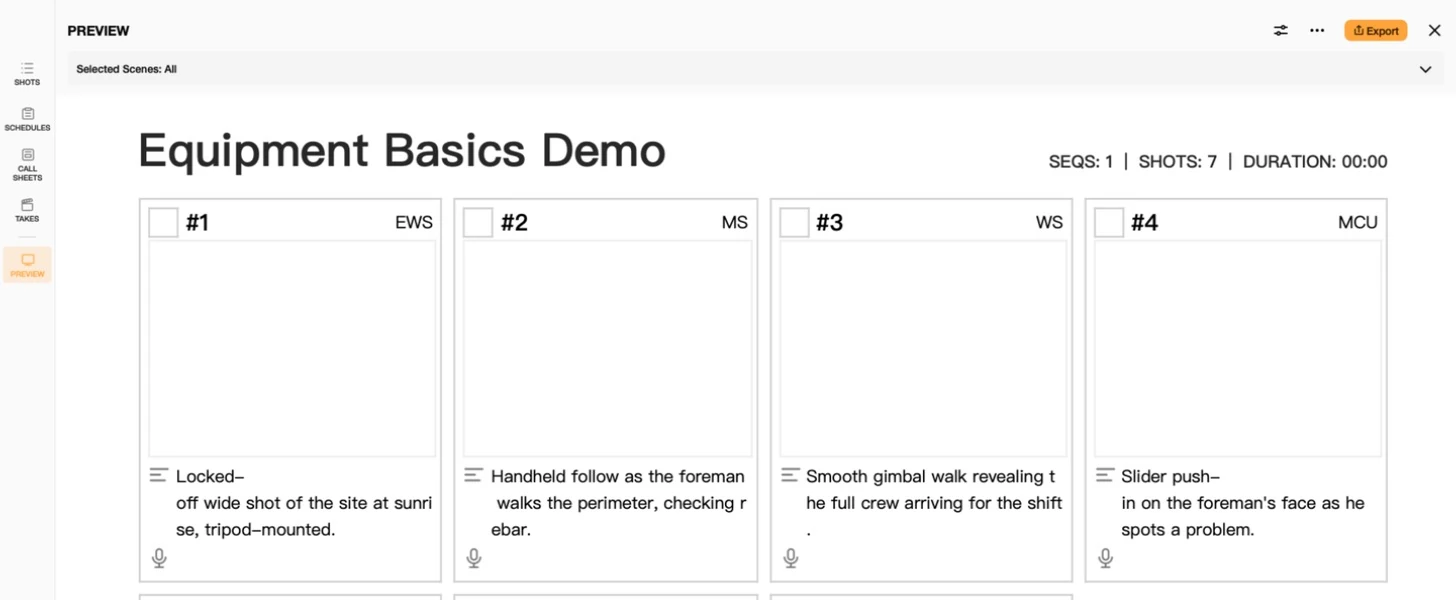
3. The Preview Screen: Pick Your Scenes, Then Pick a Format
Either export type opens a full-page preview before anything gets saved. A Selected Scenes bar at the top lets you scope the export down to specific scenes instead of the whole project — useful when only one scene's shots are actually locked and ready to hand out. Clicking Export again in the preview offers the two file formats:

- PDF Format: a finished, print-ready document — what you'd hand to a crew member or attach to an email, laid out exactly as it appears in the preview.
- Excel Format (VIP): the same data as an editable spreadsheet, for anyone downstream who wants to re-sort, filter, or drop it into their own production tracking sheet.
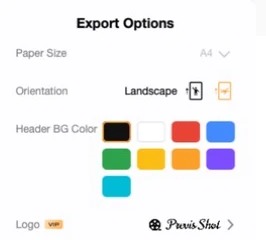
4. Export Options: Paper Size, Orientation, Color and Logo
Before exporting, the Export Options panel (the "..." button in the preview) lets you adjust how the document itself looks, separate from what data is in it:
5. A Few Practical Notes
- Scope the export before you format it. Selecting scenes first, then picking layout and format, keeps you from exporting an entire project when you only meant to hand out one scene's coverage.
- PDF for handing off, Excel for working with the data. If the person receiving it needs to re-sort or filter, send Excel; if they just need to read it or print it, PDF is the simpler choice and doesn't require VIP.
- Call sheets follow the same pattern. The Export button in CALL SHEETS opens the identical preview-then-format flow — see Call Sheets Basics for what ends up on that particular document.
This tutorial is part of the Previs Shot tutorial series. For the shots and columns behind a Shot Lists export, see Shot List Basics; for the storyboard panels behind a Storyboard export, see Storyboard Basics.