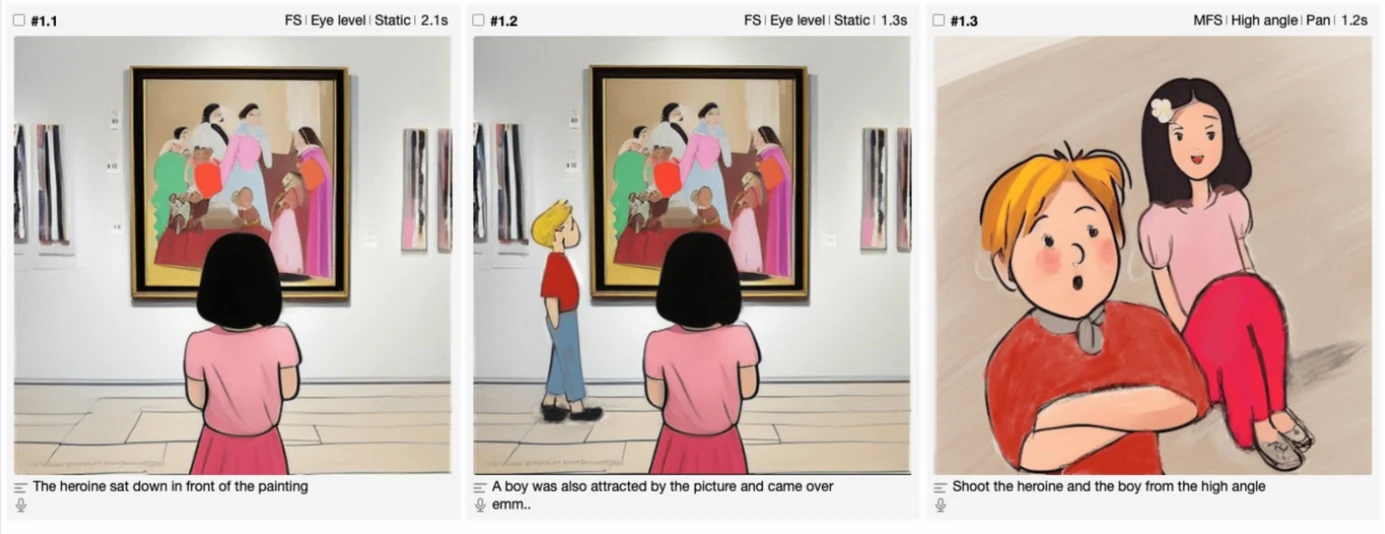
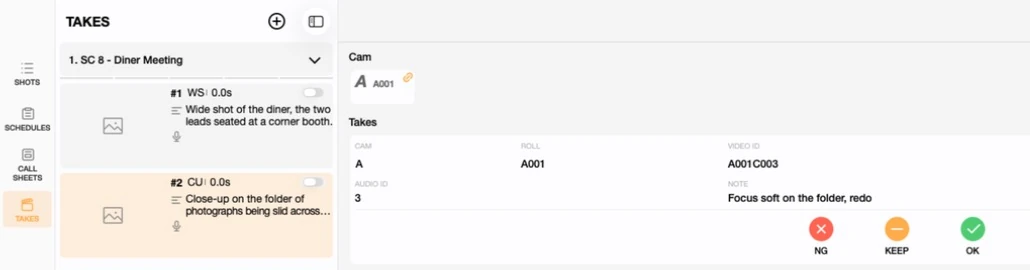
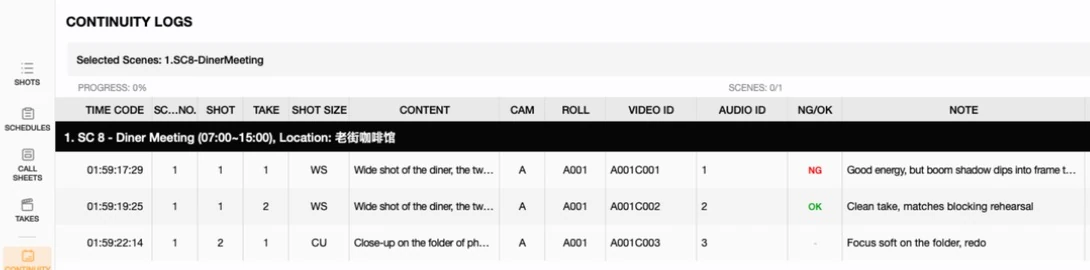
"Storyboard" and "shot list" get used interchangeably on most sets, but they're not the same document, and mixing them up causes real confusion between departments. This tutorial covers what a storyboard actually is, where it sits in pre-production, how it differs from (and connects to) a shot list, and how Previs Shot lets you carry one scene from loose storyboard panels all the way to a structured shot list without re-entering a single shot.
1. What Is a Storyboard?
A storyboard is a sequence of drawn panels that previsualizes a scene, shot by shot, roughly in the order it will appear on screen — closer to a comic strip than a spreadsheet. Each panel captures one visual beat: a composition, a camera angle, a key action. Storyboards were popularized by animation studios in the 1930s and have since become standard on live-action sets, commercials, and game cinematics alike.
Why storyboards matter in pre-production
- Cheapest place to catch problems: reworking a panel costs minutes; reworking a blocked scene on set costs hours and money.
- Gets everyone imagining the same film: a director, DP, production designer and editor can argue about a composition on paper long before a camera is involved.
- Works before the technical details exist: you can storyboard a scene before you've picked a lens, a lighting setup, or even a location — the panel just needs to show the idea.
- Doubles as a pitch tool: a storyboard reads well to non-technical stakeholders — investors, clients, actors — in a way a column of shot sizes never will.
2. Storyboard vs. Shot List: Same Scene, Two Different Documents
Because both documents break a scene into shots, it's easy to treat "storyboard" and "shot list" as synonyms. They're not — they answer different questions, at different stages:
- A storyboard is a loose visual sequence. Its unit is the panel: a sketch plus a short description. It answers "what does this shot look like, and in what order do these beats happen?"
- A shot list (see our full Shot List Basics tutorial) is a structured data table. Its unit is the row: shot size, shot type, movement, lens, duration, sound, lighting, all as separate fields. It answers "exactly how do we execute this on the day, and what does every department need to know?"
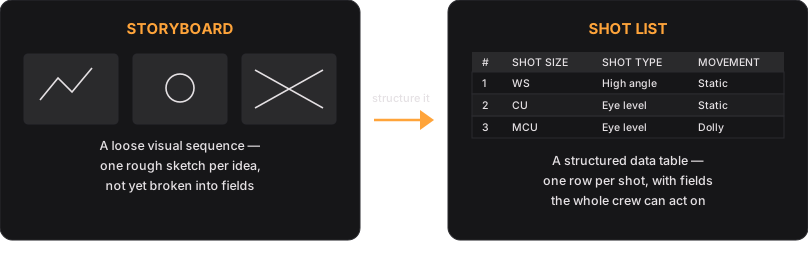
In most productions these end up as two separate artifacts, hand-built one after the other, which is exactly where information gets lost or drifts out of sync — a panel gets redrawn but the shot list row never gets updated, or vice versa.
3. How Previs Shot Bridges the Two
Previs Shot doesn't treat a storyboard and a shot list as different files — they're two views of exactly the same underlying data. Every project is built from storyboard scenes, and every scene holds an ordered list of shots. A shot's fields — content, shot size, shot type, movement, lens, duration, sound, lighting, and its FRAME sketch — all exist on that one shot record, whether or not you've filled them in yet.
What changes is display mode, not data. The SHOTS view's display-mode switcher (covered in detail in Shot List Basics) includes a dedicated Storyboard mode: shots render as a grid of panels, exactly like a traditional hand-drawn storyboard. Switch to Image&Text or Text mode and the same shots render as a structured table — the shot list. There's no export, no re-typing, no second document to keep in sync.
4. Worked Example: Taking a Scene from Storyboard to Shot List
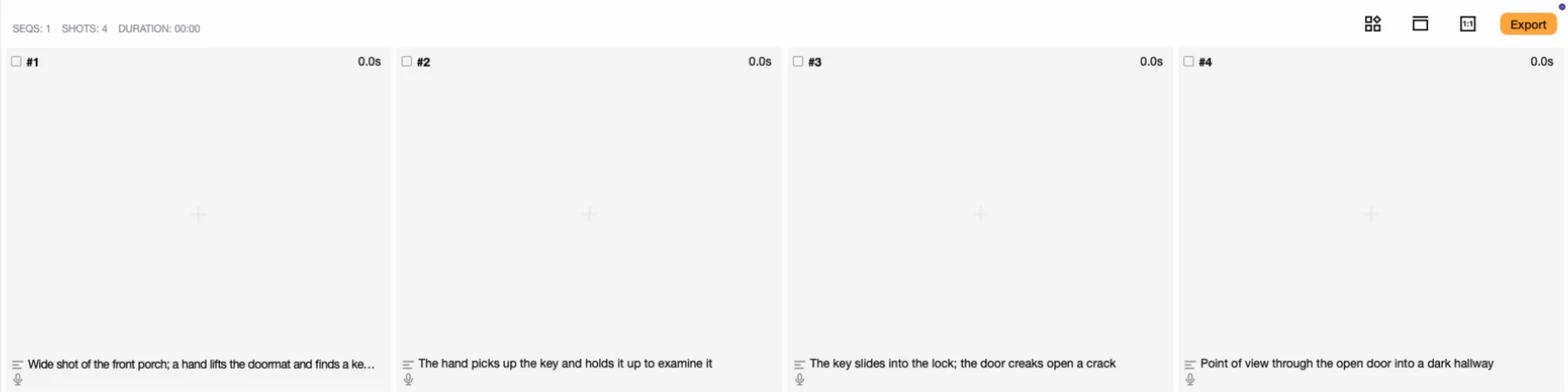
For this tutorial we built a real demo project in Previs Shot, "Storyboard Basics Demo", with one scene: "SC 08 - The Key Under the Mat" (ext./int., dusk). Here's the scene at the storyboard stage — four shots, each with only a rough content note:
| # | Content (storyboard stage) |
|---|---|
| 1 | Wide shot of the front porch; a hand lifts the doormat and finds a key underneath |
| 2 | The hand picks up the key and holds it up to examine it |
| 3 | The key slides into the lock; the door creaks open a crack |
| 4 | Point of view through the open door into a dark hallway |
4.1 Stage one: rough panels
At this point nothing is structured yet — no shot size, no shot type, no movement. Switched to Storyboard display mode, the scene looks exactly like a hand-drawn storyboard: four blank panels with just a content line underneath each one.
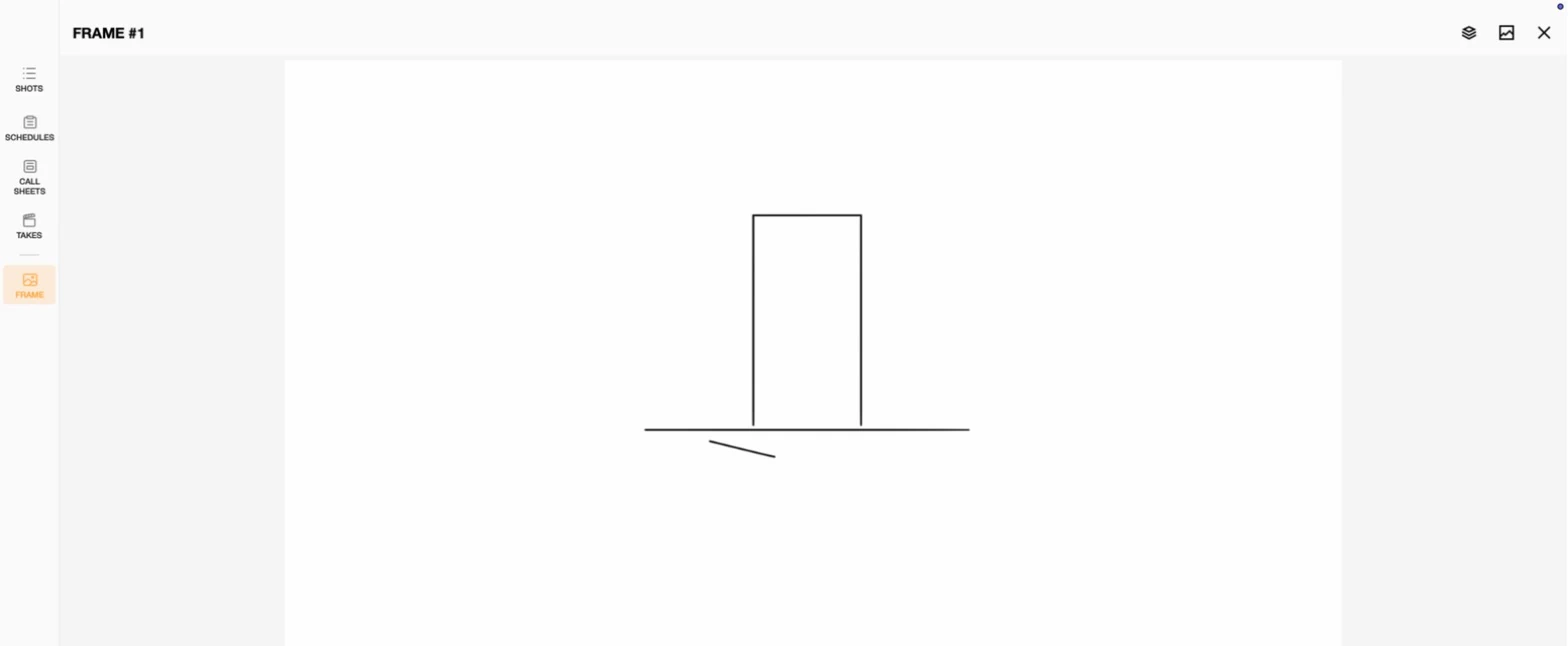
Sketching the first beat directly in the FRAME editor makes the sequence readable at a glance, the same way a traditional storyboard artist would rough in a composition:
4.2 Stage two: structure it into a shot list
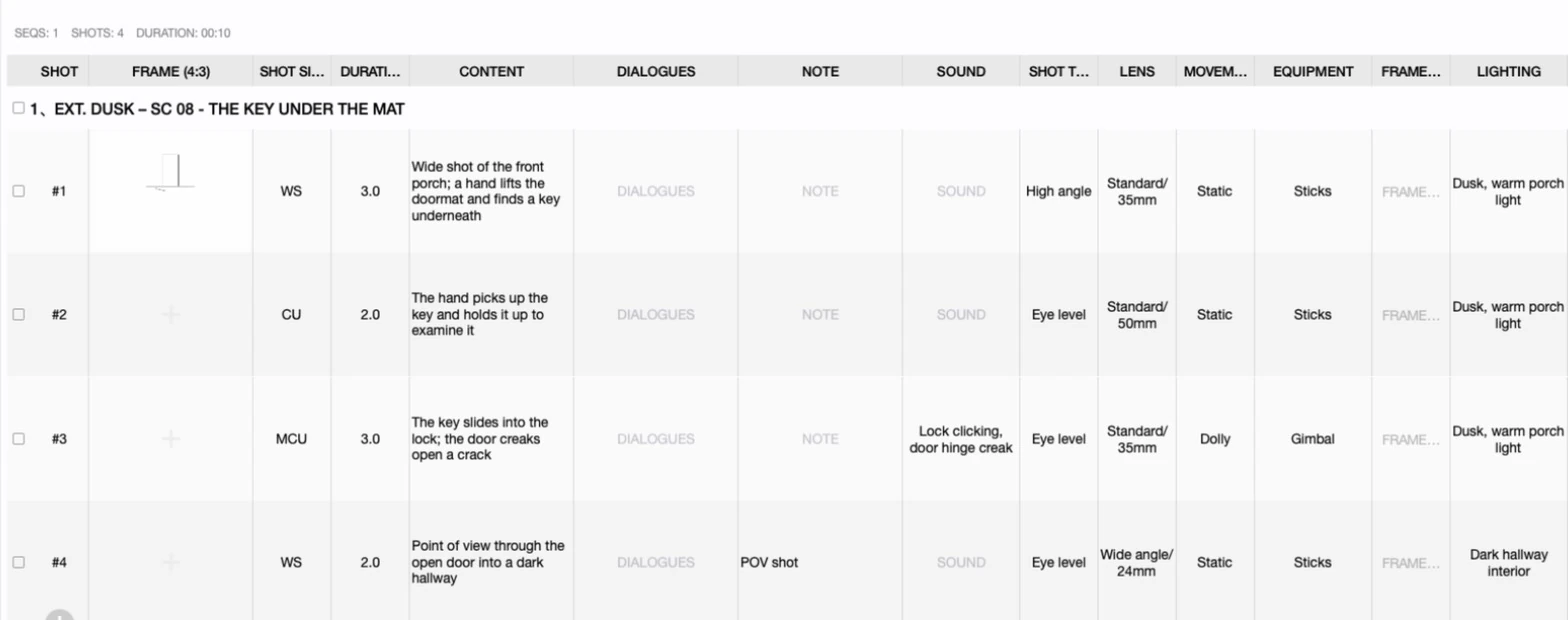
Once the sequence and the composition ideas hold up, the same four shots get their production fields filled in — shot size, shot type, movement, lens, duration, sound, lighting. No new shots are created and nothing is retyped from scratch; these are the identical four rows, now carrying more information:
| # | Shot size | Shot type | Movement | Notes |
|---|---|---|---|---|
| 1 | WS | High angle | Static | Looking down at the mat |
| 2 | CU | Eye level | Static | The key in hand |
| 3 | MCU | Eye level | Dolly | Push in as the door creaks open |
| 4 | WS | Eye level | Static | POV shot |
Switching the exact same project to Image&Text mode now shows a structured shot list — including a small FRAME thumbnail of the sketch drawn back in stage one:
Building it in Previs Shot, step by step:
- Create a new scene in the SHOTS view and name it for the scene it represents (we used "SC 08 - The Key Under the Mat", an ext./int. scene at dusk).
- Add a shot row for each story beat and fill in only CONTENT for now — this is the storyboard stage.
- Switch to Storyboard display mode and rough in a sketch for at least the key panel, directly in the FRAME editor.
- Once the sequence holds up, go back through the same rows and fill in SHOT SIZE, SHOT TYPE, MOVEMENT, LENS, DURATION, SOUND and LIGHTING — this is the shot list stage.
- Switch to Image&Text or Text mode any time you need the structured table view instead of the panel view — it's the same four shots either way.
5. Fitting Into the Rest of the Pipeline
Once a scene has become a full shot list, it feeds the rest of the production pipeline exactly as described in Shot List Basics:
Storyboard → SHOTS (shot list) → SCHEDULES → CALL SHEETS → TAKES
The storyboard stage is where you and the director agree on what the scene looks like. Everything from scheduling onward depends on the structured shot list that grows out of it.
6. Tips for Beginners
- Don't fill in every field on the first pass: a storyboard is supposed to be rough. Lock the sequence and the compositions before you spend time on lens choices and equipment lists.
- Sketch loosely: stick figures and simple shapes communicate composition just as well as detailed drawings, and take a fraction of the time.
- Use Storyboard mode to pitch, Text or Image&Text mode to shoot: panels sell the idea; the structured table is what the crew actually works from on the day.
- Don't keep two separate documents: if your storyboard and shot list live in different files, they will drift apart. Building both from the same shot records is what keeps them honest.
This tutorial is part of the Previs Shot tutorial series. Once you're comfortable moving a scene from storyboard to shot list, see Shot List Basics for a full walkthrough of everything the SHOTS view can do.