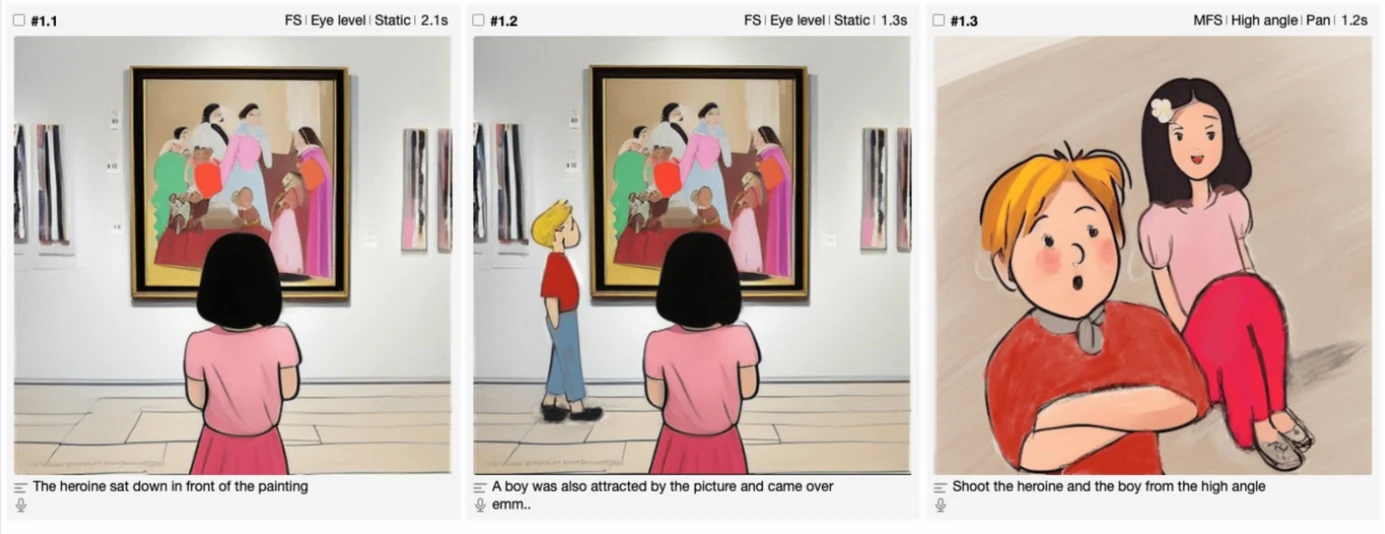
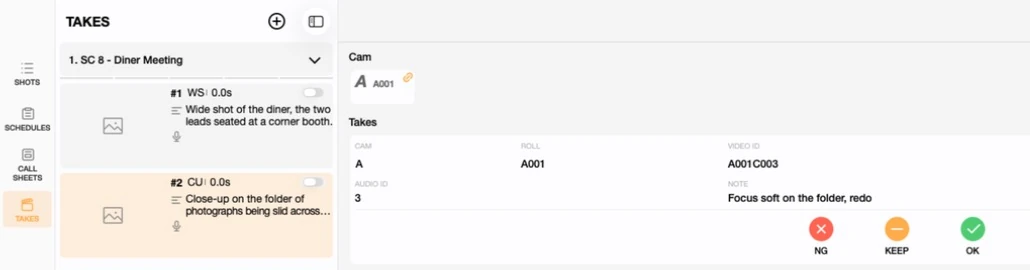
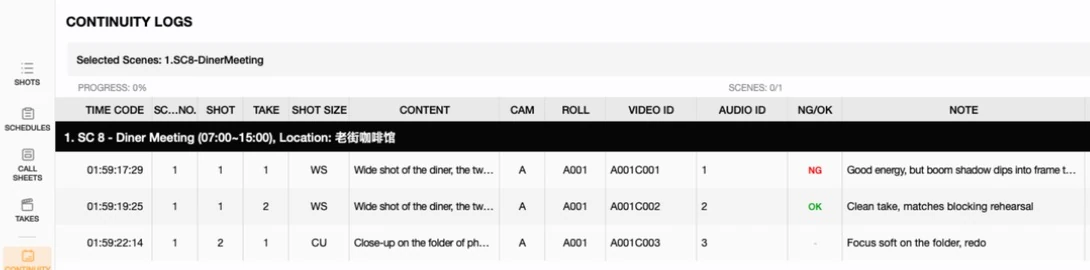
Most of the time spent in a shot list isn't laying out a whole scene from scratch — it's small, constant edits: fixing a typo in the action description, spinning off a near-identical shot for a reverse angle, or removing a take that didn't survive the cut. This tutorial covers the three moves you'll use the most in the SHOTS view: editing a cell, duplicating a shot, and deleting one.
1. Editing a Cell
Every text field in the SHOTS table — CONTENT, DIALOGUES, NOTE, SOUND and so on — edits the same way: double-click the cell to enter edit mode, select and retype what you need, then click anywhere else (or press Return) to confirm.
Fields backed by a fixed set of options — SHOT SIZE, SHOT TYPE, MOVEMENT, LENS and the rest — work a little differently, opening a picker instead of a text cursor. Our Shot List Basics tutorial covers that side of the table in detail; this one focuses on the row-level actions around a shot itself.
2. Duplicating a Shot
Right-click any shot row and you'll see Insert Above, Insert Below, Duplicate, Delete and Fill Color.
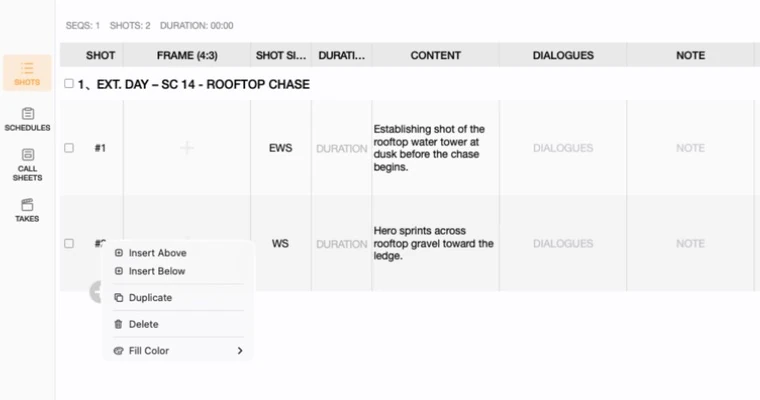
Duplicate copies every field on that shot — content, shot size, movement, lens, everything — into a brand-new shot directly below it, and renumbers the rest of the scene automatically. It's the fastest way to build a reverse angle, a near-identical pickup, or a small variation on a shot you already blocked out: duplicate first, then only change what's actually different.
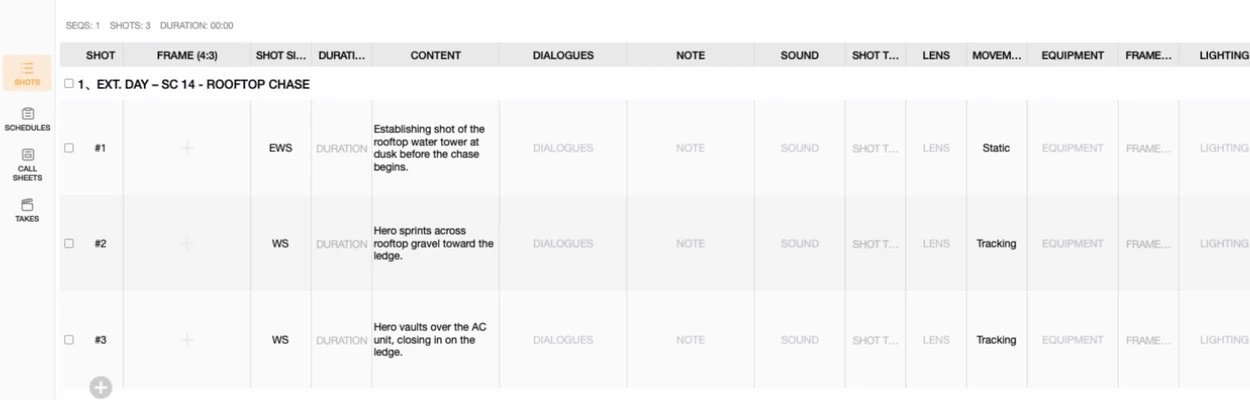
Insert Above and Insert Below do the opposite: they add a blank shot at that exact position, for when you need a new shot squeezed in between two existing ones rather than a copy of what's already there. The + button at the bottom of a scene only ever appends to the very end, so reach for Insert Above/Below whenever the new shot belongs somewhere in the middle.
3. Deleting a Shot
Same menu, Delete. Previs Shot always confirms before removing anything:
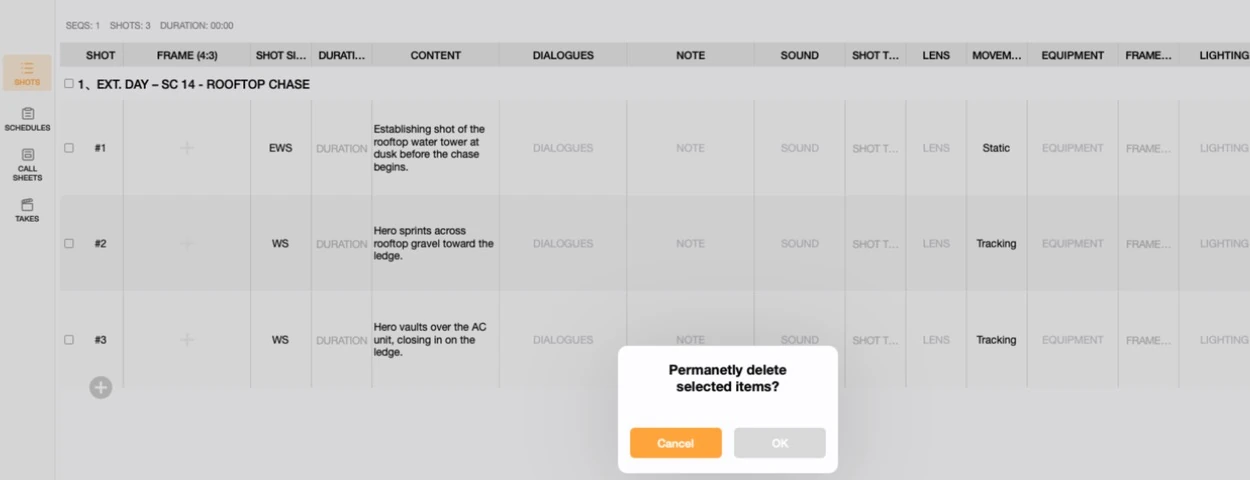
Despite the wording, "permanently" refers to this specific delete action being final once confirmed — it's still a normal edit in the app's undo history, so Command-Z right after brings the shot straight back, exactly as covered in our MCP Basics tutorial for AI-driven edits.
4. Editing, Duplicating or Deleting More Than One at Once
Everything above works shot-by-shot, but the SHOTS view also has a dedicated selection mode for acting on several shots at the same time — checking off a handful of shots and duplicating, deleting, moving or color-tagging all of them together. That workflow is covered in the "Selection Mode" section of our Shot List Basics tutorial.
5. A Few Practical Notes
- Renumbering is automatic. Duplicate, insert or delete a shot anywhere in a scene, and every shot after it renumbers itself — you never have to fix shot numbers by hand.
- Fill Color is for visual grouping, not data. Use it to flag shots that still need coverage, belong to a particular set-up, or are ready to shoot — it's a color tag on the row, nothing more.
- Duplicate, then edit, is usually faster than starting from Insert Above/Below. Any shot that's "mostly the same as the last one" — a reverse angle, a second take of blocking, a pickup — is quicker to spin off from an existing shot than to build from a blank one.
This tutorial is part of the Previs Shot tutorial series. For everything else the SHOTS view can do — display modes, custom columns, and selection mode for bulk edits — see Shot List Basics. If you need to combine shots from an entirely separate project instead of editing within one, see Merging Projects.