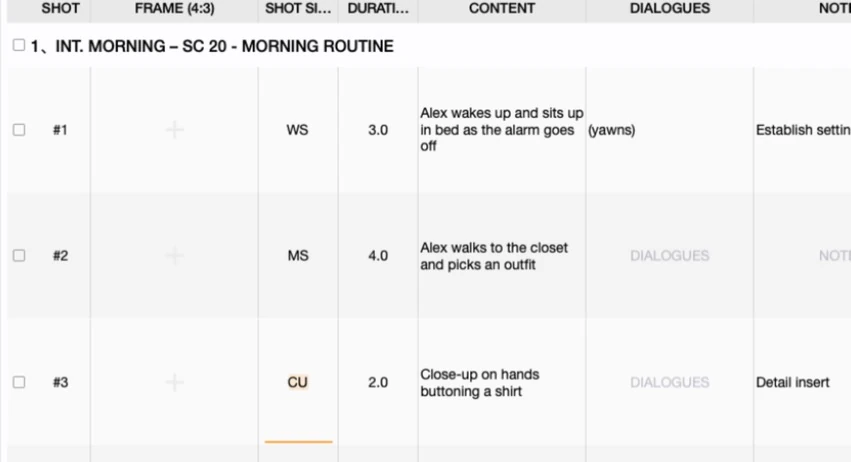
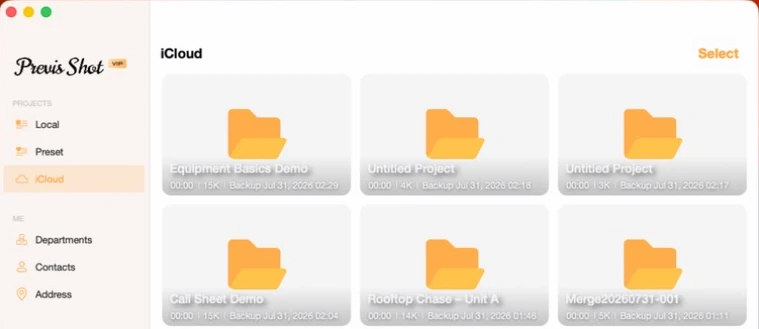
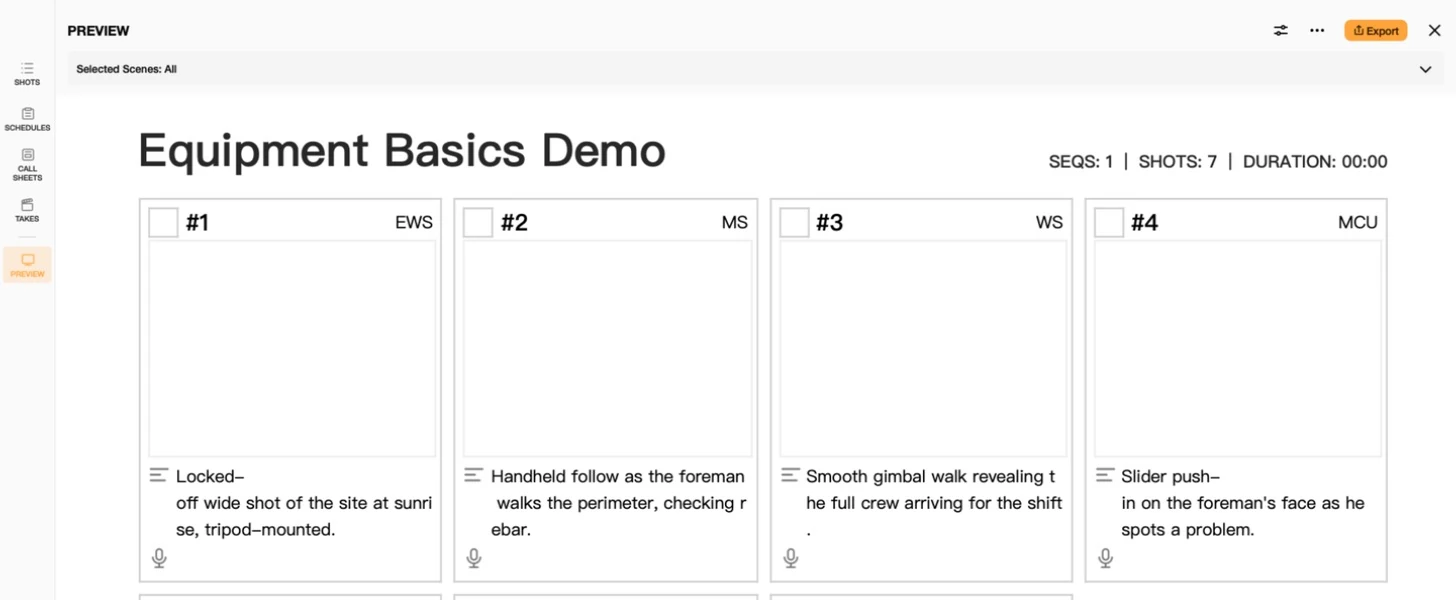
Previs Shot can now talk directly to AI assistants like Claude — read your storyboard, add shots, move a shooting day, fill in a call sheet, export a PDF, all from a chat window instead of clicking through the app. This tutorial covers what MCP actually is, how to turn the connection on, how to pair it with Claude and other AI tools, and a complete tour of what an assistant can (and can't) do once it's connected.
1. What Is MCP, and Why Does Previs Shot Support It?
MCP (Model Context Protocol) is an open standard that lets an AI assistant call a real application's own functions directly, instead of guessing from a screenshot or clicking around a UI. An app that supports MCP exposes a defined set of tools — "list my projects," "create a shot," "export this call sheet" — and any MCP-aware AI client can call them the moment you connect it.
Previs Shot exposes its real project data this way: the same projects, scenes, shots, schedules, call sheets and continuity logs you see in the app are what an AI assistant reads and writes through MCP. Nothing is duplicated or exported to a separate copy — it's the same file, live.
What this is useful for
- Bulk or repetitive editing in plain language: "Move every shot in Scene 4 to a low angle" is one sentence instead of forty clicks.
- Cross-checking your own work: ask an assistant to read back a scene and confirm the fields actually match what you intended.
- Building a first pass fast: describe a scene in a sentence and have the assistant lay out scenes, shots and a rough schedule for you to refine.
- Documentation and reporting grounded in real data: this very tutorial series was partly built this way — several of our demo projects were created and verified through this same MCP connection instead of by hand.
2. Turning On the Connection
The whole feature lives in one place: Settings → MCP Connection.
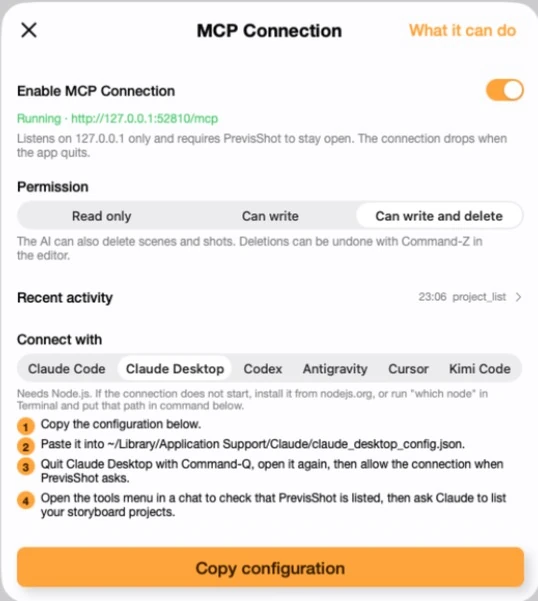
- Open Previs Shot, click Settings in the sidebar, then MCP Connection.
- Switch on Enable MCP Connection. Once it's running you'll see a green "Running" status with a local address — Previs Shot only listens on your own machine (
127.0.0.1), and the connection drops the moment you quit the app. - Choose a Permission level (see below) before connecting any AI client.
2.1 Choosing a permission level
Three levels control exactly how far an AI assistant can go:
- Read only: the AI can look at your projects but never change them. The safest way to try the connection for the first time.
- Can write: the AI can create and edit scenes, shots, schedule entries, call sheets, and so on, but can't delete anything.
- Can write and delete: the AI can also delete scenes and shots. Deletions can still be undone with Command-Z in the editor, the same as any other edit.
A Recent activity log sits right above the client picker, showing the latest tool calls made through the connection (for example, project_list) — a quick way to confirm nothing unexpected happened.
3. Connecting an AI Client
The Connect with row lets you pick the AI tool you actually use — Claude Code, Claude Desktop, Codex, Antigravity, Cursor or Kimi Code — and Previs Shot shows setup steps specific to that client. The general shape is the same everywhere:
- Pick your client in the Connect with row.
- Copy the configuration (or command) Previs Shot generates for that client.
- Paste it where that client expects it — a config file for Claude Desktop, a terminal command for Claude Code, and so on — following the exact steps shown under the button.
- Restart or reconnect the client, then approve the connection when Previs Shot asks.
- Confirm it worked by asking the AI to list your projects, or checking that "PrevisShot" shows up in the client's own tools list.
For Claude Desktop specifically, that means copying a small JSON snippet into ~/Library/Application Support/Claude/claude_desktop_config.json, then quitting Claude Desktop completely with Command-Q and reopening it. For Claude Code, it's a single claude mcp add command you paste into Terminal.
Keep the generated configuration private. Each connection includes a unique token that lets a client read (and, depending on permission, write or delete) your projects — treat it like a password. Don't paste it into a shared document, a screenshot you publish, or a chat with anyone you don't trust. If you ever think it leaked, turn the connection off and back on in Previs Shot to issue a new one.
The connection needs Node.js installed on your Mac. If a client can't start the connection, install Node from nodejs.org, or run which node in Terminal and paste that path into the command Previs Shot gives you.
4. How to Use It: A Worked Example
Once connected, you talk to your storyboard the same way you'd talk to a colleague. A few real prompts that map directly onto the tools described below:
- "List my Previs Shot projects, and open the one called Demo Project."
- "Read Scene 3 of the current project and tell me which shots are missing a shot size."
- "Add five shots to Scene 3: a wide establishing shot, two medium shots of the conversation, a close-up on the reveal, and an insert of the letter."
- "Move tomorrow's shooting day to the 12th, and push every shot's time back by 30 minutes."
- "Import the crew list and today's schedule into the call sheet for the 12th."
- "Export today's shot list as a PDF."
One sentence is often enough to take a scene from nothing to a full pre-production package — storyboard, shooting schedule, and call sheet — exactly as described in the app's own capability panel (see next section).
5. Full Capability Overview
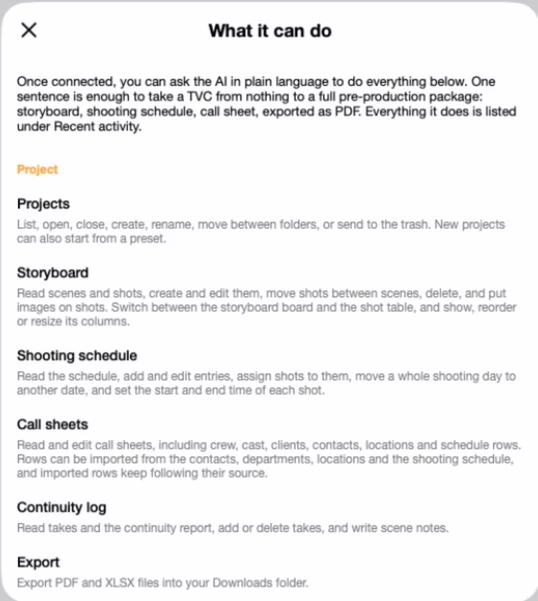
Previs Shot's Settings screen includes a "What it can do" panel that spells out exactly what's exposed through the connection, grouped into three areas:
5.1 Project-level tools
- Projects: list, open, close, create, rename, move between folders, or send to the trash. New projects can also start from a preset.
- Storyboard: read scenes and shots, create and edit them, move shots between scenes, delete them, and put images on shots. Switch between the storyboard board and the shot table, and show, reorder or resize its columns.
- Shooting schedule: read the schedule, add and edit entries, assign shots to them, move a whole shooting day to another date, and set the start and end time of each shot.
- Call sheets: read and edit call sheets, including crew, cast, clients, contacts, locations and schedule rows. Rows can be imported from the contacts, departments, locations and the shooting schedule, and imported rows keep following their source.
- Continuity log: read takes and the continuity report, add or delete takes, and write scene notes.
- Export: export PDF and XLSX files into your Downloads folder.
5.2 Shared across every project
- Departments and roles: list, add, rename and delete departments and the roles inside them. Deleting a department also removes its roles. Departments that Previs Shot ships with are translated per language and can't be renamed.
- Contacts and locations: list, add, edit and remove crew, cast, clients and saved locations. A contact can be linked to a department and role, and everything here feeds the call sheet.
5.3 Membership
- Membership and permission: check whether Pro is active and when it renews, and what the current connection is allowed to do. When a request is refused, the AI reads this to tell you exactly what to change.
6. Good Practices for Beginners
- Start on Read only: get comfortable with what the assistant sees and how it answers before letting it write or delete anything.
- Know your data model first: an AI assistant edits the same scenes, shots, schedule entries and call sheets described in our Shot List Basics and Storyboard Basics tutorials — understanding that structure makes it much easier to write a precise prompt.
- Keep Previs Shot open: the connection only exists while the app is running; quitting it (not just closing a project) ends the session.
- Check Recent activity: it's the fastest way to see exactly what the AI just did, in order.
- Remember Command-Z: every edit an assistant makes is a normal edit in the editor's undo history, so a bad instruction is never destructive.
This tutorial is part of the Previs Shot tutorial series. Once your MCP connection is running, our Shot List Basics and Storyboard Basics tutorials are a good next read — everything an AI assistant touches through MCP is exactly the data model described there.