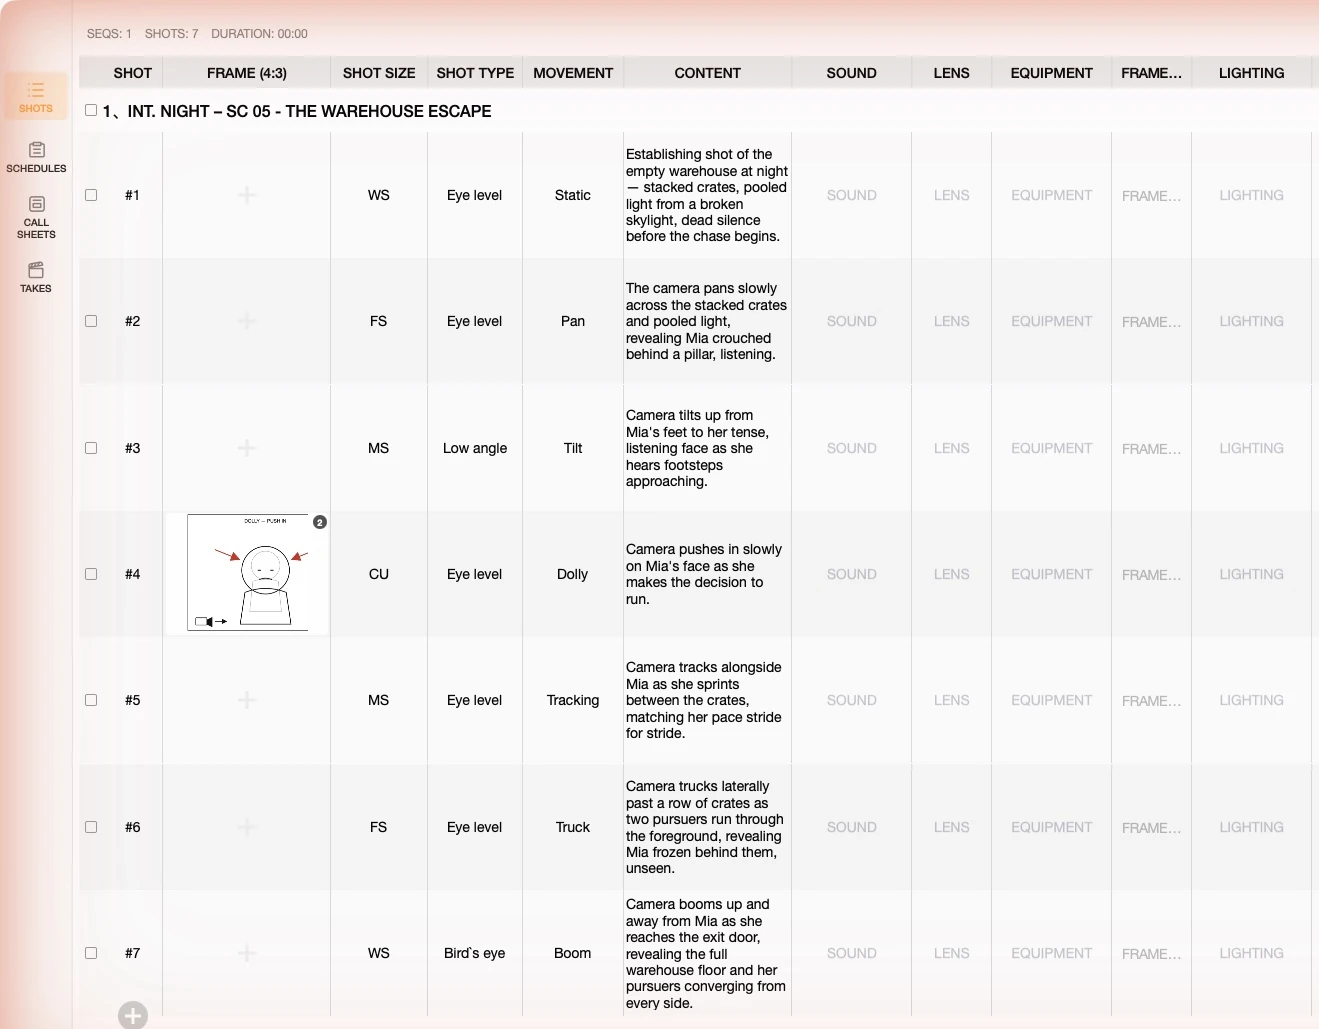
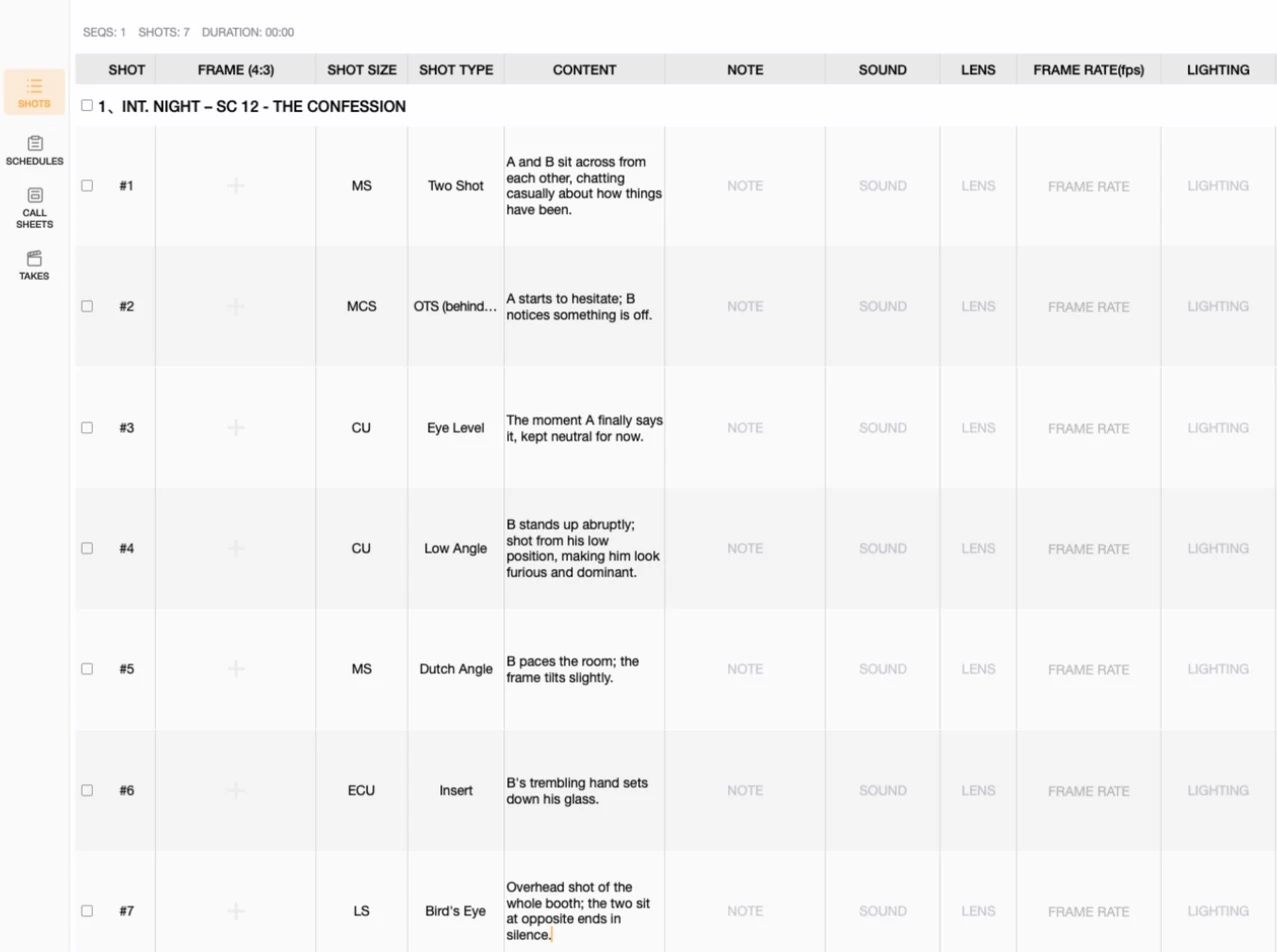
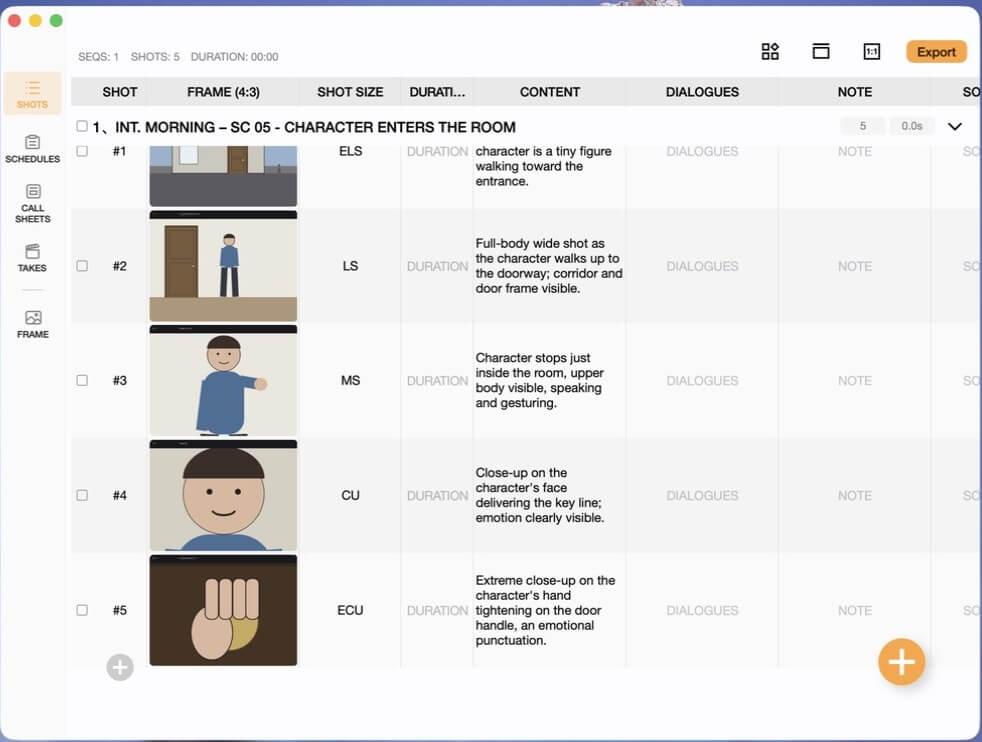
Movement tells you the camera is pushing in — equipment tells you whether that's a slider, a dolly track, or a gimbal operator walking backwards, and lens tells you how wide or compressed the world looks while it happens. This tutorial covers the EQUIPMENT and LENS fields in Previs Shot's SHOTS view: what each option actually means on set, and how they combine with shot size, type and movement to fully spec a shot.
1. Equipment: What's Physically Holding the Camera
Movement describes what the frame does; equipment describes the rig that makes it possible. The same "push in" can come from a slider, a dolly, or a gimbal operator walking — and which one you pick changes your rigging time, crew size and budget far more than the creative choice does. Previs Shot's EQUIPMENT field has seven options:
Static / Sticks
A locked-off frame on a tripod. No travel, no operator input beyond framing — the cheapest, fastest setup, and still the right choice for most dialogue and establishing shots.
Hand Held
The camera rides on the operator's body, shoulder or hands, with all the natural imperfection that implies. Fast to deploy, no rigging time, and it reads as immediate and subjective — the audience feels like they're standing where the operator stands.
Gimbal
A motorized stabilizer that cancels out the operator's footsteps, giving handheld's mobility with dolly-smooth motion. The standard choice for a walking-and-talking shot or a smooth follow through a space with no track to lay.
Slider
A short rail, usually a meter or two, for a small, controlled push, pull or lateral move. Common for a subtle push-in on a face or a product, where a full dolly track would be overkill.
Jib
A crane arm that lifts the camera up, down, and out over a space no ladder or handheld rig could reach. Used for the classic "rise up and reveal" move, or to get over a foreground obstacle.
Drone
Fully aerial — the only option here with no physical connection to the ground crew at all. Establishing shots of a location from angles nothing else on this list can reach.
2. Lens: How Much World the Frame Compresses or Expands
Where equipment is about physical support, lens is about optical perspective — how close objects at different distances appear to each other, and how much of the scene fits in frame. Previs Shot's LENS field covers six types:
- Standard: roughly matches how the human eye perceives distance and scale — the default, invisible choice for most dialogue and coverage.
- Wide Angle: fits more into frame and exaggerates depth, pushing foreground and background apart. Common on establishing shots and in tight spaces.
- Super Wide Angle: an even more extreme version of the same effect — dramatic depth and noticeable edge distortion, often reserved for a deliberate stylistic choice.
- Telephoto: compresses distance, flattening the space between foreground and background and isolating a subject against a soft, distant backdrop.
- Fish Eye: an extreme wide-angle with pronounced spherical distortion — a specialty lens for a specific visual effect, not everyday coverage.
- Zoom: a variable focal length in a single lens, letting the frame tighten or widen without a physical move — useful in documentary-style coverage or when there's no time to swap glass.
3. Both Fields, Side by Side in the SHOTS View
Equipment and lens sit in their own columns next to Shot Size, Movement and the rest — worth filling in the moment you know how a shot is meant to be rigged, since both feed straight into your crew and gear planning, not just the creative brief.
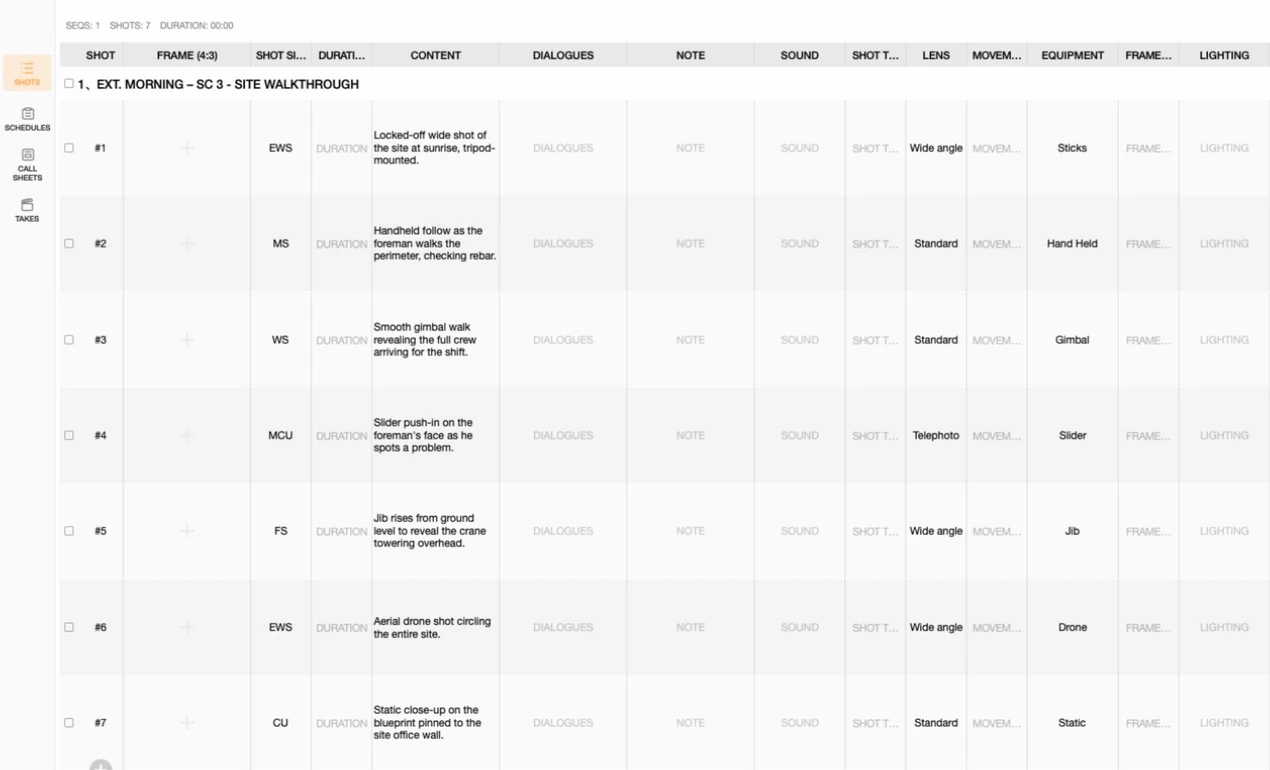
Read across any one row and you get the full physical spec of a shot in one line: shot #4 is a medium close-up, telephoto lens, on a slider — everything a camera assistant needs to know what to bring, without reading the CONTENT column at all.
4. A Few Practical Notes
- Equipment drives your schedule more than movement does. Two shots with the same MOVEMENT value ("tracking") can mean a five-minute gimbal walk or a two-hour dolly track build — equipment is what your 1st AD actually needs to see.
- Lens is a look, not just a distance. The same shot size can feel completely different on a wide angle versus a telephoto — plan lens choice alongside shot size rather than as an afterthought.
- Not every combination makes sense. A fish eye on a locked-off dialogue close-up is a deliberate, unusual choice — if you didn't mean to make it, double-check the field.
This tutorial is part of the Previs Shot tutorial series. Equipment and lens are two of several fields covered end-to-end in Shot List Basics; for the other two axes of a fully specified shot, see Movement Basics and Shot Size Basics.