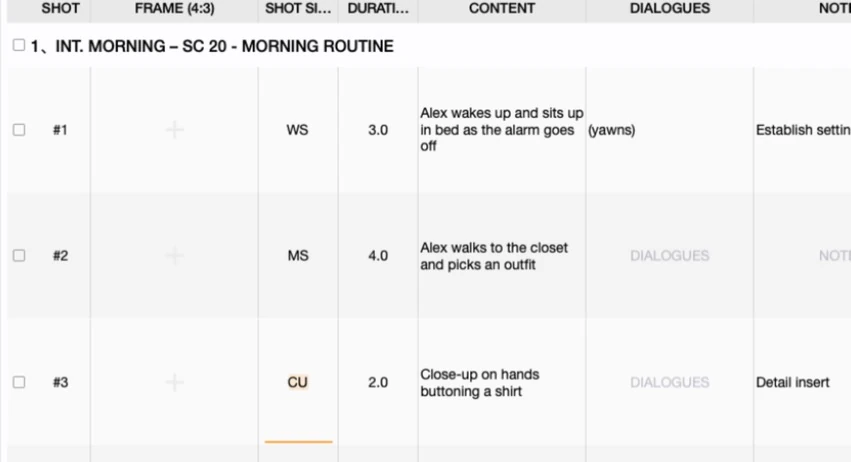
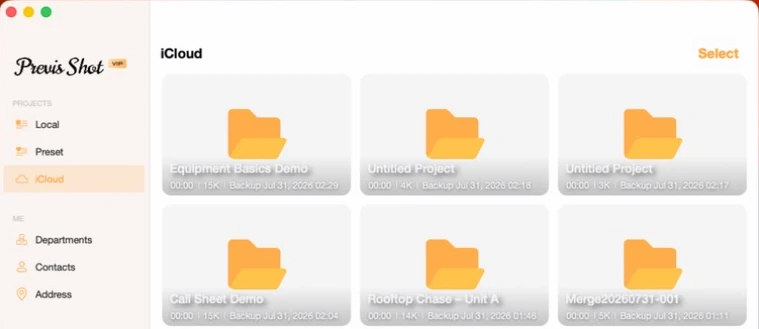
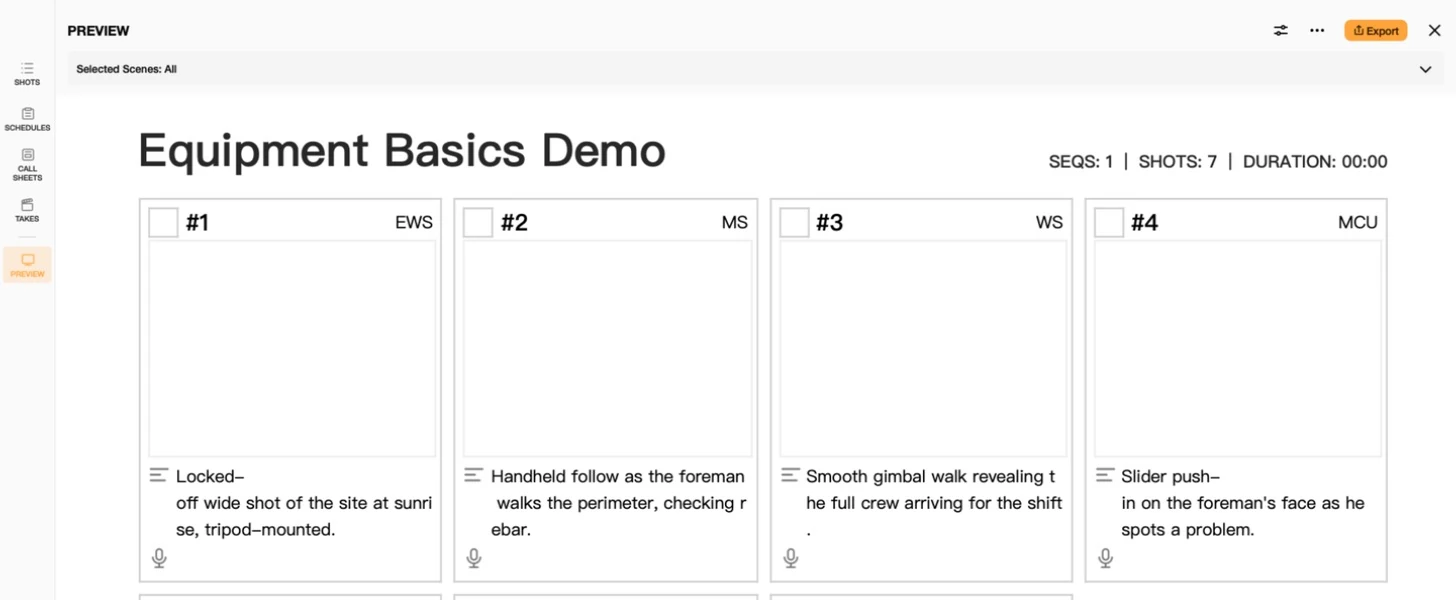
Not every collaborator is on your iCloud account, and not every handoff should depend on the network being up. Previs Shot can package an entire project — every scene, shot and reference image — into a single file you can AirDrop, email or drop in any shared drive. This tutorial covers exporting a .previs file, what happens when you import one, and what to do when it turns out you already have a copy.
1. Why Export a Project File at All
iCloud keeps your own projects in sync across your own devices, but it doesn't hand a project to someone outside your account. Exporting solves the cases iCloud doesn't: sending a storyboard to a director who uses their own Previs Shot account, archiving a finished project outside the app, or moving work onto a Mac that isn't signed into the same iCloud at all.
2. Exporting a Project
Right-click any project in your Local list and choose Export Previs Project. A standard macOS save panel opens, pre-filled with a suggested filename — rename it to whatever makes sense and pick a folder.
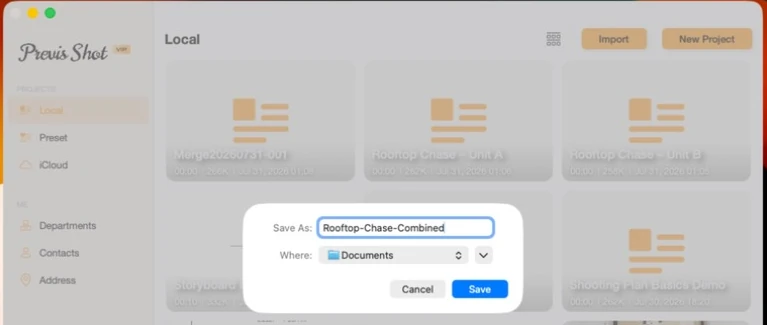
The result is a single file with a .previs extension. Finder shows it with its own icon and file type ("Previs Shot Project"), and its size scales with how much is inside — a couple of empty scenes came out to 52 KB in our test, but a project full of reference images and takes will be considerably larger.
3. Importing a Project
From the Local tab, click Import in the top-right corner. A file picker opens — navigate to the .previs file and select it.
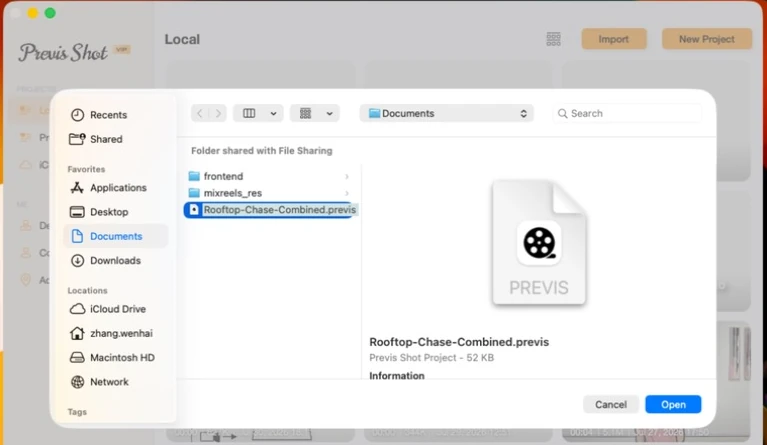
.previs file works here — one you exported yourself, or one someone sent you.Click Open. If nothing like it exists in your Local list yet, it's simply added — same scenes, shots and images as the moment it was exported.
4. When You Already Have a Copy
Previs Shot recognizes when the file you're importing is a copy of a project you already have locally (the same project, not just one with a similar name), and stops to ask what to do instead of silently creating a confusing duplicate:
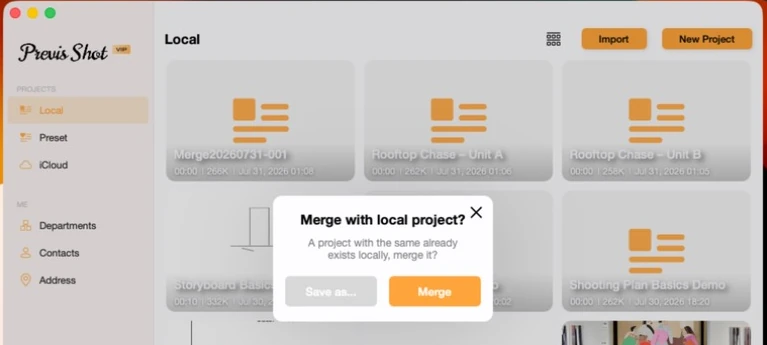
- Merge: folds any scenes and shots from the imported file into your existing local project. Useful when a collaborator added new scenes to their copy and you want those changes without losing your own.
- Save as…: keeps the imported file as a completely separate project, side by side with the one you already had. Useful when you want to compare two versions before deciding what to keep.
Whichever you choose, your original local project is never silently overwritten — Previs Shot always asks first.
5. A Few Practical Notes
- It's just a file. Send it however you'd send any document — AirDrop, email attachment, a shared drive, a USB stick. No account or internet connection is required on the receiving end until they actually open Previs Shot.
- Exporting doesn't remove or lock anything. Your local project keeps working normally after you export a copy of it — export is a snapshot, not a move.
- Good for handoffs and archiving. A finished project you want to keep outside Previs Shot, or send to a director who never needs iCloud access to your other work, is exactly what this feature is for.
This tutorial is part of the Previs Shot tutorial series. If you regularly need to combine two projects rather than just move one around, see our Merging Projects tutorial — it covers the Merge Previs Project feature and the exact same "Merge with local project?" prompt in more depth. For what to do with a project once it's on your machine, our Shot List Basics tutorial is the natural next read.