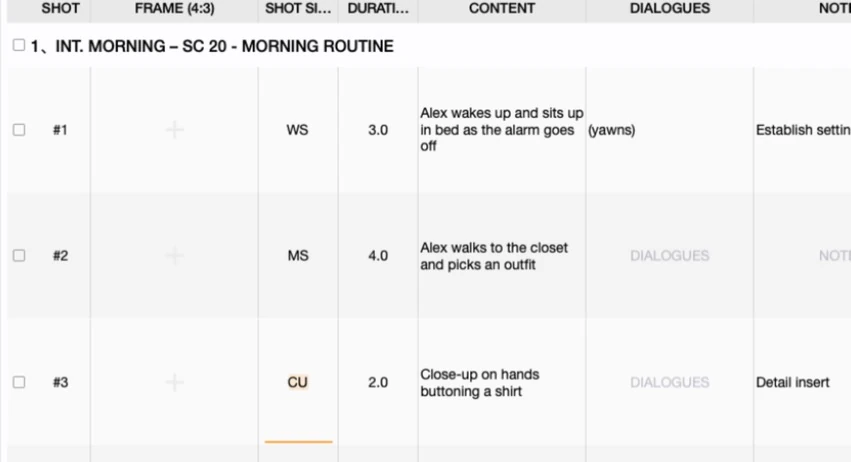
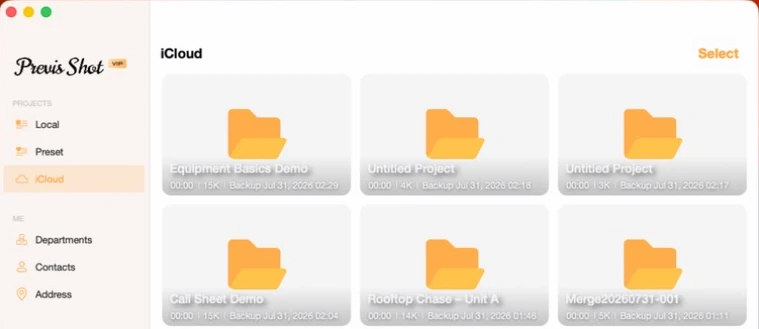
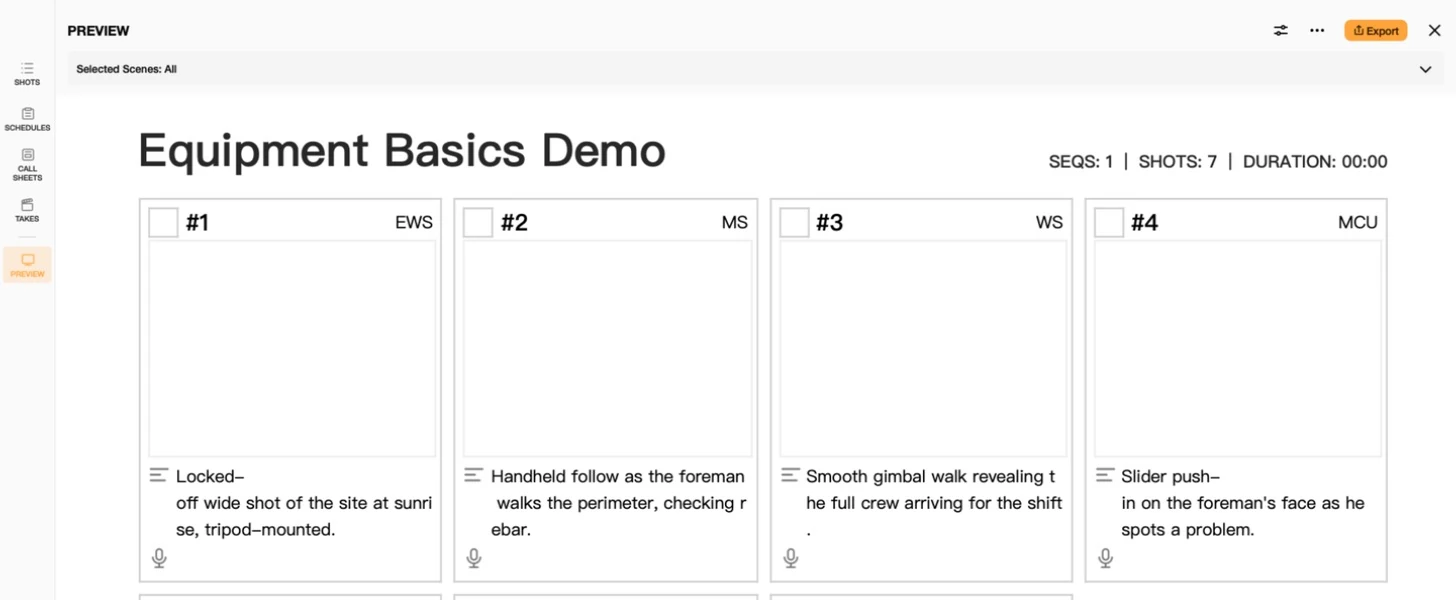
Every new show starts with the same handful of decisions already made: what aspect ratio you're shooting, which custom columns your shot list needs, how many cameras are on set. If you make those same decisions every time you start a new episode or a new unit, Previs Shot's presets let you save them once and reuse them. This tutorial covers how to turn a project into a preset, what a preset actually captures, and how to start a new project from one.
1. A Preset Is a Template, Not a Copy
A preset is not a duplicate of a project's content. It doesn't carry over your scenes, shots, schedule or call sheets — it captures the setup you'd otherwise have to rebuild by hand: your column configuration, your display/frame settings, your camera setup, and a few other project-level defaults. Think of it as saving the shape of a project, not what's inside it.
2. Making a Preset
From the Local project list, right-click any project and choose Make Preset. A dialog asks for a preset name and explains exactly what it's about to save:
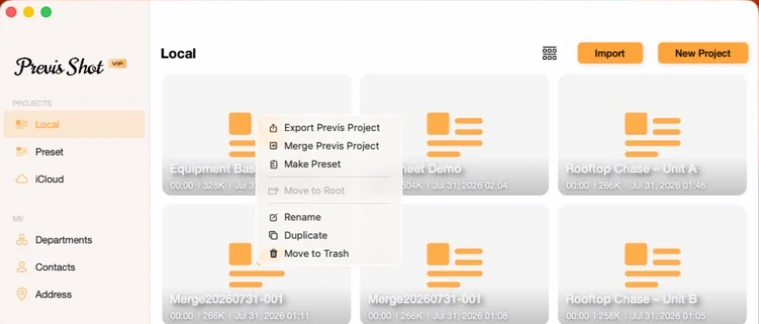
The dialog itself spells out the scope: "Extract view settings, multi cameras and other information from the current project to make preset to facilitate the creation of the next project." That's the whole feature in one sentence — it's about the setup, not the footage.
3. The Preset Tab
Every preset you make shows up under its own tab in the sidebar, alongside Local and iCloud:
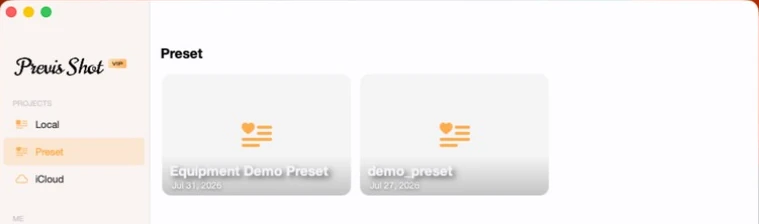
4. Starting a New Project From a Preset
Right-click a preset card and choose Create Project from Preset. Previs Shot creates a brand-new, empty project with your saved columns, frame settings and camera setup already in place — you land straight in the SHOTS view with the first sequence ready to name and fill in, instead of reconfiguring everything from a blank default project.
A preset can also be renamed or deleted from the same context menu, so it's safe to keep more than one around — one per show, one per recurring client, one per aspect ratio you shoot in regularly.
5. A Few Practical Notes
- Make the preset once your columns are actually settled. If you're still experimenting with which custom columns you need, finish that first — a preset only saves you time if it's the setup you actually want to reuse.
- It doesn't replace Export/Import or Merge. Those two move actual project content between files or combine two projects; a preset moves configuration into future projects. Use export/import to share a finished sequence, and a preset to start the next one the same way.
- Good candidates: recurring formats, not one-off projects. A multi-camera interview series, an episodic show with a fixed column set, or a client who always wants the same shot list layout are exactly what presets are for.
This tutorial is part of the Previs Shot tutorial series. For moving actual project content rather than settings, see Export & Import Basics and Merging Projects in Previs Shot.