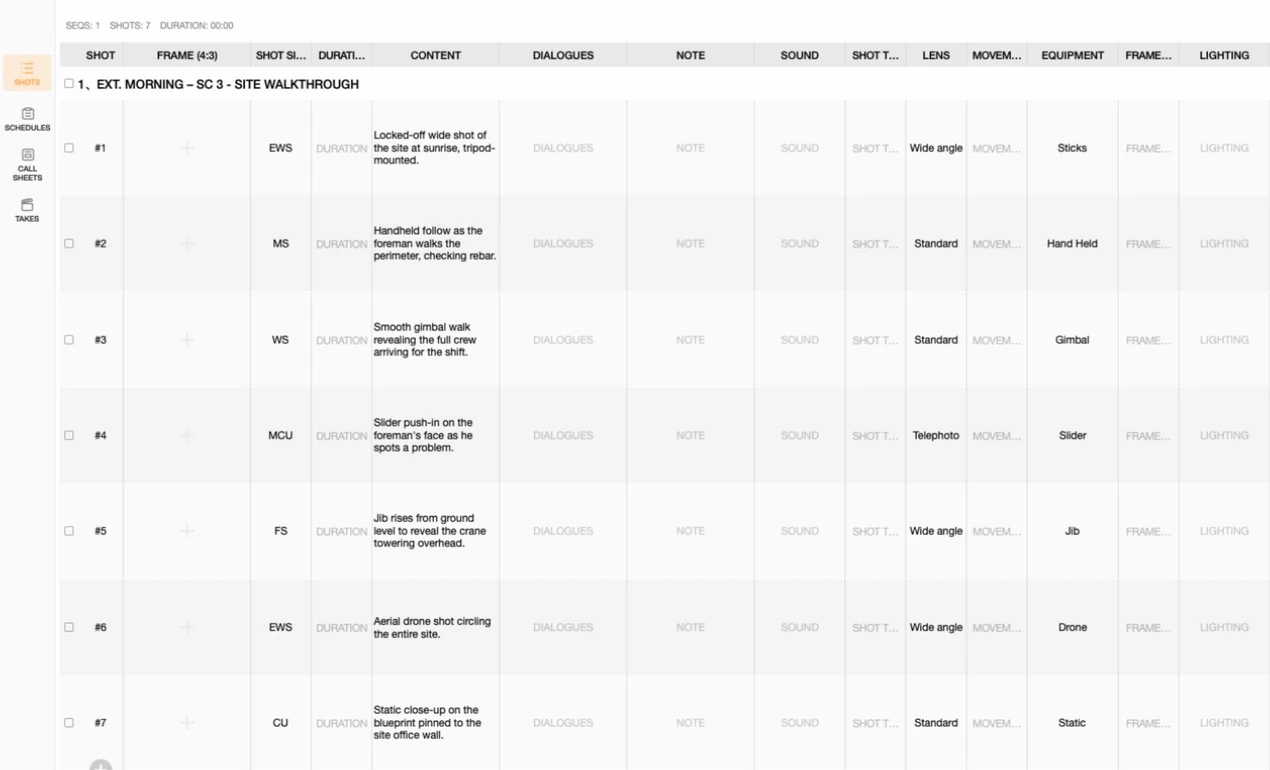
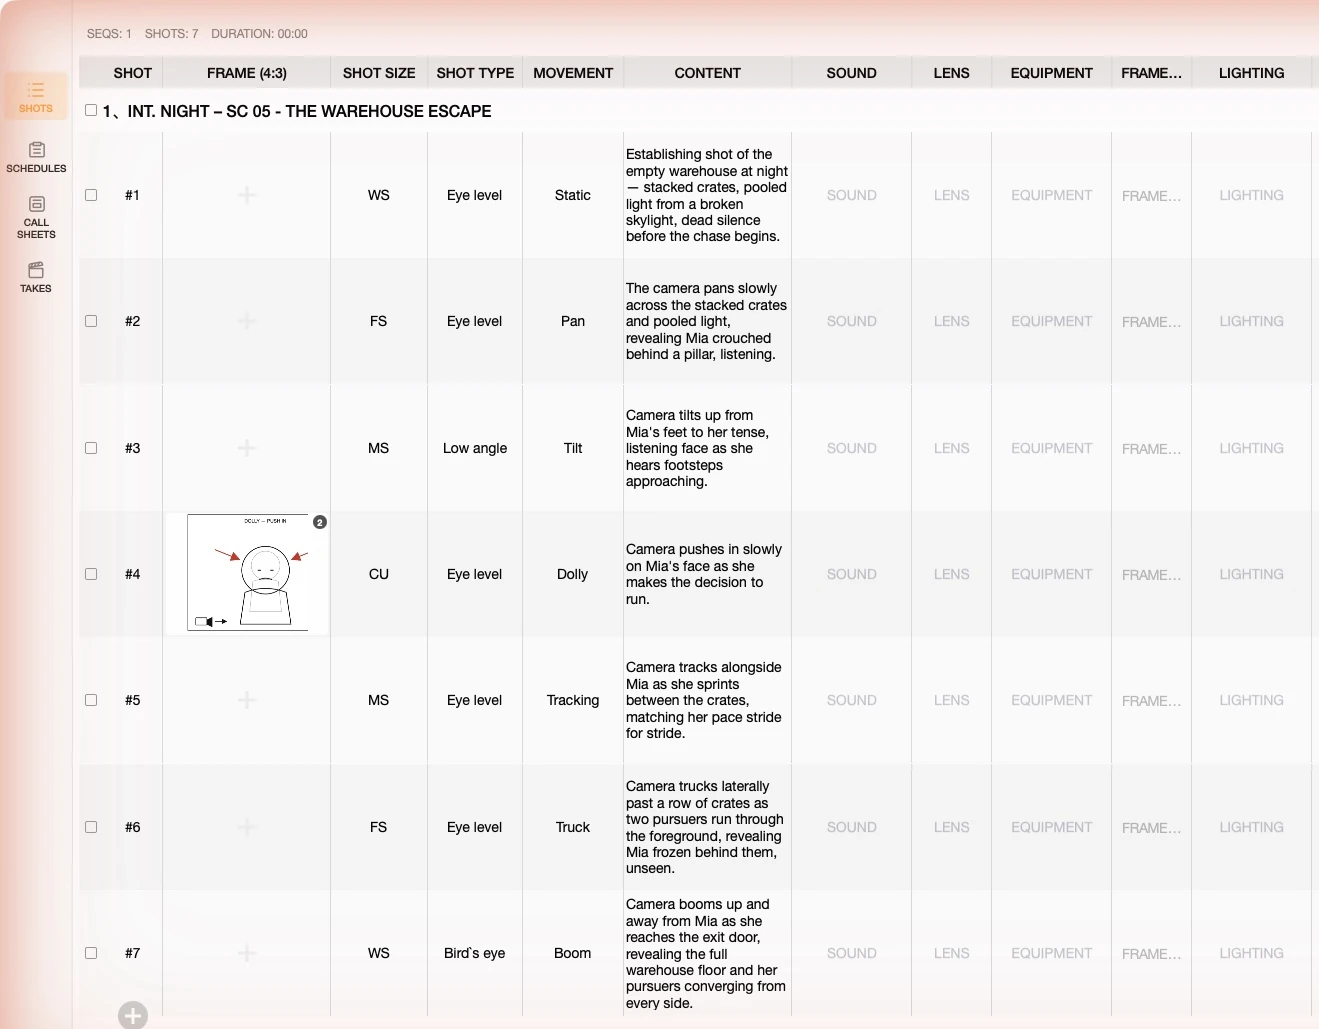
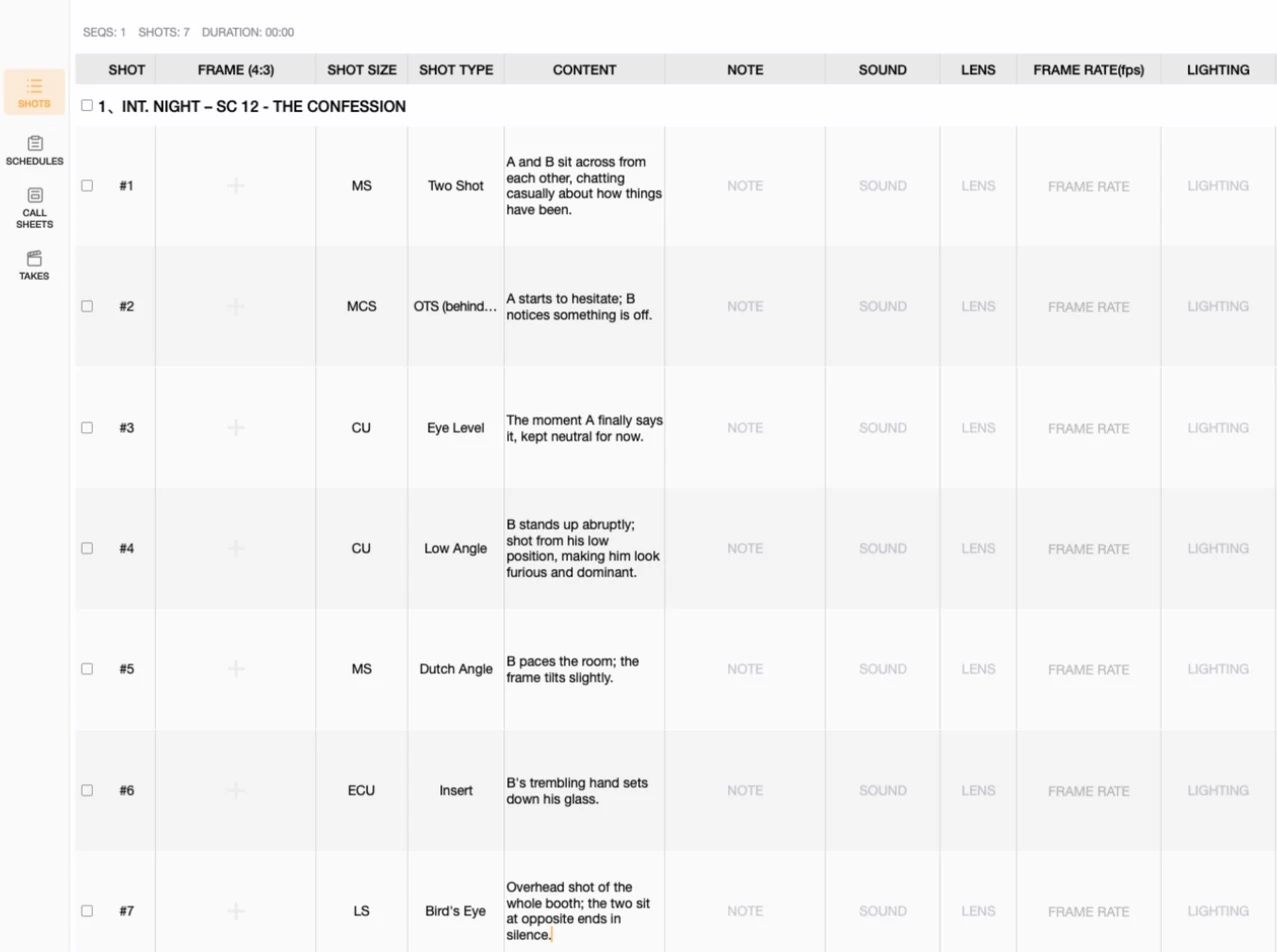
Shot size is one of the most fundamental pieces of visual language in filmmaking and storyboarding. Whether you're a short-video creator, an independent director, or just starting out with storyboards, understanding shot size helps you "speak" more clearly through the camera. This tutorial first covers the general knowledge, then shows you how to put it into practice inside Previs Shot's shot list.
1. What Is Shot Size?
Shot size (also called shot scale) describes how much of the frame the subject — usually a person — occupies. It's determined by the camera's distance from the subject and the lens focal length used.
The same person can be framed as a tiny speck lost in a vast landscape, or as a single eye filling the entire screen. That difference is shot size.
One-line definition: Shot size = how much of the subject the frame contains.
Why Shot Size Matters
Shot size isn't just a technical choice about "shooting far or close" — it directly shapes the viewer's attention, information intake, and emotional response:
- Controlling information: wider shots reveal more of the environment; tighter shots concentrate attention on detail and emotion.
- Expressing emotion: wide shots can make a character feel small or isolated; close shots amplify facial expression and build empathy.
- Building rhythm: a scene built from a mix of wide and tight shots creates narrative pacing and visual breathing room.
- Directing the eye: shot size tells the audience where to look, right now.
That's why planning "what shot size for each shot" is just as important as planning "what to shoot."
2. Shot Size Categories, One by One
Below are the main shot sizes, ordered from widest to tightest. To make comparison easy, we'll use one running example throughout:
Example scene: a character enters a room. Let's see how the same action reads differently at each shot size.
Note: naming conventions vary slightly by region and production house (for example, where exactly "Medium Shot" ends and "Medium Close Shot" begins). What follows reflects common industry usage — always confirm your team's own conventions.
1. Extreme Long Shot (ELS)
- Frame content: environment, landscape, or architecture dominate; the character is a tiny point, sometimes barely visible.
- Character-to-frame ratio: extremely small, typically under 10% of frame height.
- Narrative role / emotion: establishes location, scale, and geography; can convey isolation, smallness, or epic grandeur. Frequently used as an establishing shot.
- Example: the whole building exterior fills the frame; the character is a tiny figure walking toward the entrance. The audience first learns "where this is happening."
- Typical uses: opening establishing shots, large-scale scenes, landscapes, crowd blocking, chapter transitions.
2. Long Shot / Wide Shot (LS / WS)
- Frame content: the character's full body, head to toe, with a good amount of surrounding environment still visible.
- Character-to-frame ratio: roughly 30%–60% of frame height, full body with margin above and below.
- Narrative role / emotion: shows both the character and their relationship to the environment; good for movement, blocking, and spatial context.
- Example: the character walks up to the doorway — we see the whole hallway, the door frame, and the character's full-body posture and stride.
- Typical uses: establishing character-environment relationships, action sequences, blocking, dance or fight choreography.
3. Full Shot (FS)
- Frame content: the character's entire body fills the frame, head to toe, with the environment now secondary.
- Character-to-frame ratio: roughly 70%–90% of frame height, with only a small margin above the head and below the feet.
- Narrative role / emotion: emphasizes the character's overall silhouette, body language, and costume, while still leaving room for movement. A classic "character-first, action-second" shot size.
- Example: the character strides through the doorway — full posture clearly visible, whether confident and brisk or hesitant and slow.
- Typical uses: character introductions, costume/appearance reveals, full-body physical action, neutral two-shots in dialogue.
Note: LS and FS are sometimes used interchangeably. The simple distinction: FS sits closer to the character with less environment; LS keeps more environment in frame. Previs Shot lets you customize these labels to match your team's convention.
4. Medium Shot (MS)
- Frame content: typically from the waist up (waist-to-head; knee-to-head is sometimes labeled "Medium Long Shot," MLS).
- Character-to-frame ratio: the upper body dominates the frame, showing both gesture and expression.
- Narrative role / emotion: balances expression and body language — the workhorse shot size for dialogue scenes. Neither too distant nor too intimate; close to how we naturally experience conversation.
- Example: the character stops just inside the room, and we see them from the waist up, speaking and gesturing.
- Typical uses: dialogue, interviews, hosting, character introductions, the "default" shot size for everyday narrative scenes.
5. Medium Close Shot / Medium Close-Up (MCS / MCU)
- Frame content: typically from the chest up.
- Character-to-frame ratio: head, shoulders, and chest fill the frame; the environment nearly disappears.
- Narrative role / emotion: focuses more tightly on facial expression and emotion than a Medium Shot, while keeping a bit of shoulder for a stable composition. A go-to for news anchors, interviews, and dialogue scenes where emotion is building.
- Example: the character delivers a key line right after entering — the frame tightens to chest-up, and we start paying closer attention to tone and expression.
- Typical uses: emotionally escalating dialogue, interviews, voiceover/host shots, over-the-shoulder reverse angles.
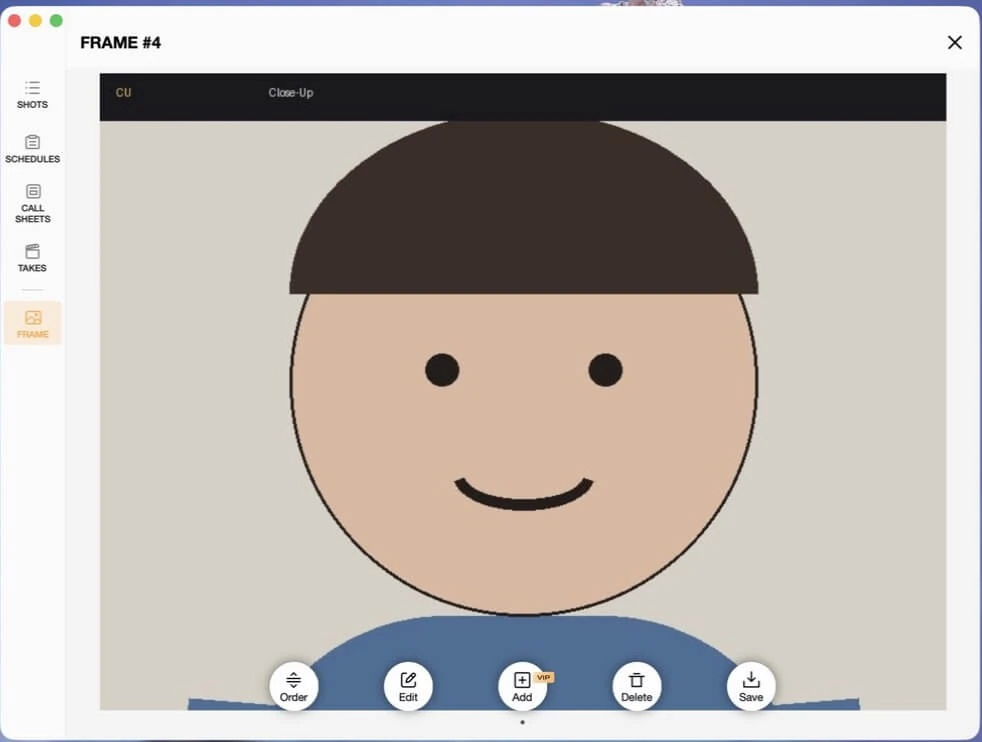
6. Close-Up (CU)
- Frame content: typically shoulders up, with the face as the absolute focus.
- Character-to-frame ratio: the face nearly fills the frame.
- Narrative role / emotion: amplifies expression to reveal inner emotion — joy, anger, fear, hesitation, nothing hides. Builds strong empathy between audience and character; a core tool for emotional beats.
- Example: the shot cuts to a close-up of the character's face — we clearly see the tension or resolve in their eyes, and the emotion lands instantly.
- Typical uses: emotional climaxes, key lines of dialogue, reaction shots, emphasizing an important object or detail.
7. Extreme Close-Up (ECU)
- Frame content: an isolated facial feature (an eye, lips) or a small object/detail (fingers, a clock, a trigger).
- Character-to-frame ratio: a single detail fills the entire frame.
- Narrative role / emotion: creates intense dramatic focus — magnifying a micro-expression, a bead of sweat, a decisive gesture. Common in suspense, thrillers, or to spotlight a pivotal detail.
- Example: right before entering, we see an extreme close-up of the character's hand tightening on the door handle, or their eyes fixed on something — the audience's nerves tighten with them.
- Typical uses: building suspense, key details, emotional punctuation, a visual "comma" between scenes.
3. Quick Reference Table
| Shot Size | Abbreviation | Frame Content | Character Ratio | Primary Role |
|---|---|---|---|---|
| Extreme Long Shot | ELS | Environment dominant, character tiny | <10% | Establishing, scale, isolation |
| Long Shot / Wide Shot | LS / WS | Full body + generous environment | 30%–60% | Character-environment relationship, blocking |
| Full Shot | FS | Full body fills frame | 70%–90% | Overall silhouette, body language |
| Medium Shot | MS | Waist up | Upper body | Dialogue, gesture + expression |
| Medium Close Shot / Medium Close-Up | MCS / MCU | Chest up | Head, shoulders, chest | Emotional build-up, interviews |
| Close-Up | CU | Shoulders up, face-focused | Face dominant | Amplified expression, empathy |
| Extreme Close-Up | ECU | An isolated detail | Single detail | Tension, key detail |
4. Working with Shot Size in Previs Shot
Once you understand shot sizes, the next step is to build them into your shot list. Previs Shot's core SHOTS view is designed exactly for this: break a scene down shot by shot, and specify shot size, angle, movement, and a visual frame for each one.
4.1 Setting the SHOT SIZE Field
In the SHOTS view, each scene (Sequence) contains a series of shots (Shot rows). Every row has a set of columns, including a SHOT SIZE column.
Steps:
- Open Previs Shot and go to the SHOTS view.
- Select or create a sequence, then add the shot rows you need.
- Click the SHOT SIZE cell on the target row.
- Type the shot size directly (e.g. "ELS," "LS," "MS," "CU," "ECU," or your team's own wording like "Medium Wide").
The SHOT SIZE field in Previs Shot is a free-text cell, so you can standardize on either English abbreviations (ELS/LS/FS/MS/MCS/CU/ECU) or your own naming convention. Whichever you choose, keep it consistent across the whole project — mixing labels for the same shot size makes on-set communication and later searching harder.
4.2 Pairing Shot Size with Neighboring Fields
Shot size rarely stands alone. Filled in alongside these fields, a single row tells the full story of a shot:
- SHOT TYPE (camera angle): e.g. Eye level, High angle, Low angle. The same Close-Up reads very differently shot at eye level versus a low angle.
- MOVEMENT: push in, pull out, pan, track, follow. Shot size + movement together define the shot's dynamics — e.g. "push in from Full Shot to Close-Up."
- FRAME (storyboard image): draw or import a sketch for the shot, set the aspect ratio (e.g. 1:1, 4:3), use layers, or import a reference image. Placing the character at the correct proportion inside FRAME visually "previews" exactly how much of the frame that shot size occupies.
Recommended workflow: set the SHOT SIZE text first, then draw or import the matching FRAME image — text and image stay in sync, so anyone on the team can read the shot at a glance.
4.3 Planning a Scene's Shot Sequence by Shot Size
A scene is rarely shot at a single size — it's a combination of shot sizes. Arranging different shot sizes row by row within a sequence in the SHOTS view is, in effect, designing that scene's visual rhythm.
A classic, reliable pattern is going "wide to tight": establish the environment with a wide shot, move into the scene with a medium shot, then land on emotion with a close shot — gradually narrowing the audience's focus.
4.4 Worked Example: a "Wide-to-Tight" Sequence in Previs Shot
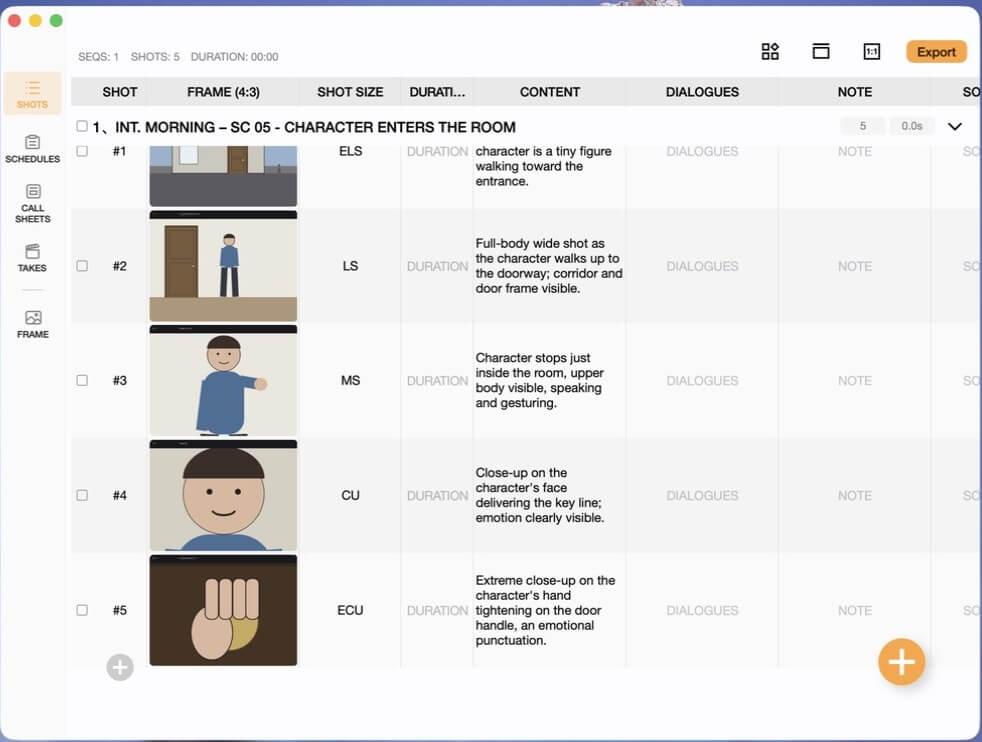
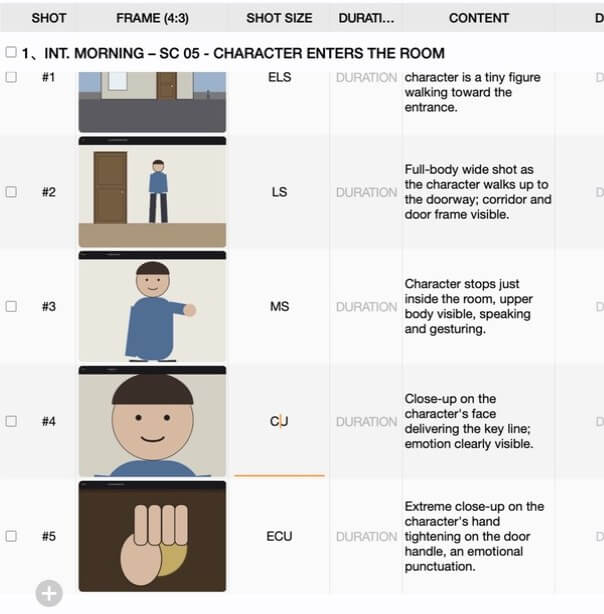
To build this tutorial, we created a real demo project in Previs Shot named "Shot Size Basics Demo," with a sequence titled "SC 05 - Character Enters the Room" (INT. Morning, Location: Living Room). Here's the exact shot list we built, using the same running example — a character entering a room and delivering a key line:
| Shot # | SHOT SIZE | Content | Notes |
|---|---|---|---|
| #1 | ELS | Wide establishing shot of the building exterior; character is a tiny figure walking toward the entrance. | Sets location and scale |
| #2 | LS | Full-body wide shot as the character walks up to the doorway; corridor and door frame visible. | Shows movement and space |
| #3 | MS | Character stops just inside the room, upper body visible, speaking and gesturing. | Dialogue begins |
| #4 | CU | Close-up on the character's face delivering the key line; emotion clearly visible. | Emotional peak |
| #5 | ECU | Extreme close-up on the character's hand tightening on the door handle, an emotional punctuation. | Visual "comma" |
Building this in Previs Shot, step by step:
- In the SHOTS view, create a new sequence and rename it to describe the scene (we used "SC 05 - Character Enters the Room", with Location set to "Living Room").
- Add five shot rows. In each row's SHOT SIZE column, type ELS → LS → MS → CU → ECU in order, forming a wide-to-tight progression.
- Fill in the CONTENT column for each row with a short description of the action, as shown in the table above.
- Open each shot's FRAME and either sketch or import a reference image sized to match that shot's proportions — for our demo we imported simple storyboard-style illustrations for each of the five shots.
- Once complete, the sequence becomes a visual, at-a-glance shooting plan that reads clearly to anyone on the team.
Below are actual screenshots from this demo project inside Previs Shot:
4.5 Fitting Into the Full Production Workflow
Planning shot size in SHOTS is just the first step. Previs Shot's typical workflow carries that information all the way to set:
SHOTS → SCHEDULES → CALL SHEETS → TAKES
- SHOTS: define shot size, angle, movement, and frame for every shot.
- SCHEDULES: place shots into the shooting schedule.
- CALL SHEETS: generate call sheets so the whole crew knows what's being shot, and at what shot size, each day.
- TAKES: log each shot's takes on set.
A shot list with clearly planned shot sizes makes scheduling more efficient (shots sharing a size and setup can be grouped together) and keeps on-set communication fast and unambiguous.
5. Tips for Beginners
- Decide the information first, then the shot size: figure out what you want the audience to know or feel in this shot — the right shot size usually follows naturally.
- Default to wide-to-tight: when in doubt about pacing, "wide shot for environment → medium shot for narrative → close-up for emotion" is a dependable, general-purpose pattern.
- Keep naming consistent: use one set of shot-size labels across the whole project so there's zero ambiguity on the team.
- Cross-check text against image: in Previs Shot, make sure the SHOT SIZE label matches the character's proportion in the FRAME sketch, to avoid mixed signals.
- Watch and break down shots often: pick a scene from a film you like, and go shot by shot identifying its shot size, then compare it to the emotion it's aiming for — this is the fastest way to build an intuitive feel for shot size.
This tutorial is part of the Previs Shot tutorial series. Mastering shot size is the first step toward turning the images in your head into a professional shot list.